Table of Contents
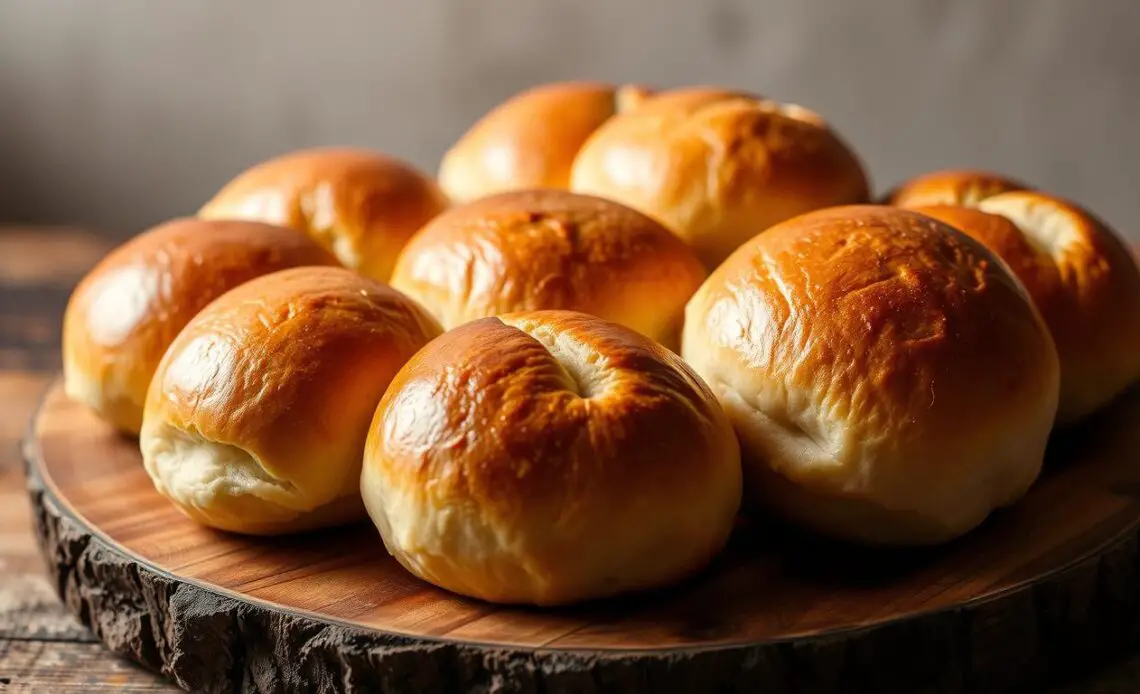
As a busy mom, finding time to bake homemade bread can be tough. Kneading dough and waiting for it to rise feels overwhelming, especially on hectic weeknights. But, there’s a way to enjoy fresh, fluffy bread rolls without the hassle of yeast. Welcome to the world of easy no yeast bread rolls, where you can have delicious homemade bread in just 30 minutes!

In this guide, I’ll show you how to make light, airy rolls perfect for weeknight dinners or weekend brunch. No more store-bought options or complicated recipes. Just wholesome, homemade goodness your family will love. Get ready to have your kitchen filled with the irresistible aroma of freshly baked bread. And, know you made it all from scratch. Let’s dive in and discover the secrets to crafting these incredible no yeast bread rolls!
Key Takeaways
- No yeast bread rolls can be made in just 30 minutes
- These rolls are a convenient and easy alternative to traditional yeast-based breads
- The recipe uses simple, common ingredients that you may already have on hand
- Baking no-yeast rolls is a great way to enjoy fresh, homemade bread without the hassle
- The rolls can be customized with a variety of flavors and add-ins
Understanding Quick Bread Rolls Without Yeast
Yeast is key in baking for dough to rise and get fluffy. But, you can make tasty no-yeast dinner rolls or self rising flour rolls. These quick bread rolls are great for those who like easy baking or have dietary needs.
The Science Behind No-Yeast Baking
Yeast makes dough rise by producing carbon dioxide. Without yeast, other ingredients take over. Self-rising flour, for example, has baking powder and salt. They work together to leaven without yeast.
Benefits of Making Yeast-Free Rolls
- Faster preparation time: No-yeast rolls can be ready in as little as 30 minutes, making them a convenient option for busy cooks.
- Simpler recipe: Yeast-free rolls often have fewer ingredients and a straightforward mixing process, perfect for baking beginners.
- Dietary flexibility: Those following a gluten-free, vegan, or kosher diet can enjoy these rolls without the limitations of traditional yeast-based recipes.
Key Ingredients That Replace Yeast
Other than self-rising flour, ingredients like baking powder and baking soda can leaven no yeast bread rolls. Eggs also help by trapping air bubbles, making the rolls fluffy.
- Baking powder: A chemical leavening agent that reacts with liquids to produce carbon dioxide, causing the dough to rise.
- Baking soda: When combined with an acidic ingredient, such as buttermilk or yogurt, baking soda releases carbon dioxide for leavening.
- Egg: The proteins in eggs help to trap air bubbles, contributing to the rise and fluffy texture of the rolls.
Understanding no-yeast baking and the ingredients that replace yeast lets you enjoy quick bread rolls. You don’t need the hassle of traditional yeast-based recipes.
Essential Ingredients for No Yeast Bread Rolls
Making delicious no yeast bread rolls is simpler than you might think. The secret is knowing the key ingredients that replace yeast. Let’s explore the must-have items for your quick no yeast rolls and quick bread recipes.
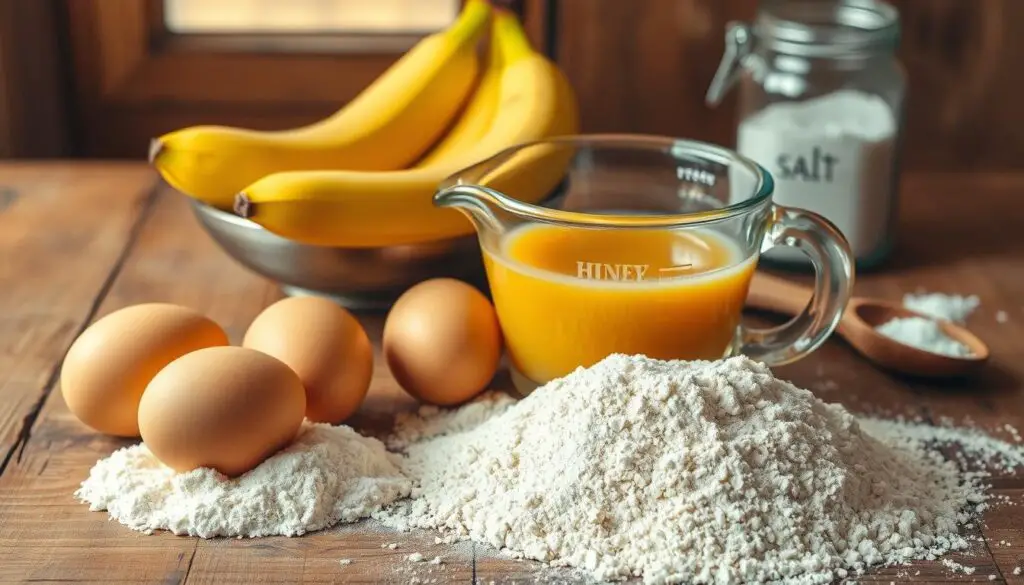
At the heart of any successful no-yeast bread are a few core elements:
- Flour: All-purpose flour or self-rising flour work beautifully in these recipes, providing the structure and texture you desire.
- Baking Powder: This leavening agent is the star of the show, responsible for helping the dough rise and achieve that fluffy, light crumb.
- Salt: A small amount of salt enhances the overall flavor, balancing the sweetness and adding depth.
- Milk: Milk, or a non-dairy milk alternative, adds moisture and richness to the dough.
- Butter: A bit of melted butter or oil helps to create a tender, flaky texture in the finished rolls.
By combining these straightforward ingredients, you can craft no yeast rolls that are ready to enjoy in a fraction of the time it takes to make traditional yeast-based breads. The absence of yeast simplifies the process, allowing you to enjoy homemade bread without the need for lengthy proofing times.
“Baking without yeast opens up a world of possibilities for quick, easy, and delicious bread options.”
With the right mix of these core ingredients, you’ll be well on your way to mastering the art of no yeast bread rolls that are sure to impress your family and friends.
Kitchen Equipment You’ll Need
For baking tasty no yeast bread rolls, the right tools are crucial. We’ll look at the must-have items for your baking journey. From basic tools to optional gadgets, we’ve got you covered.
Must-Have Tools
- Mixing Bowl: A large, sturdy bowl is key for mixing and kneading the dough.
- Measuring Cups and Spoons: Accurate measurements are vital for the perfect dough. Make sure you have a full set.
- Baking Sheet: A sturdy, rimmed baking sheet is needed for shaping and baking your rolls.
- Parchment Paper: Parchment paper on your baking sheet prevents sticking and makes cleanup easy.
- Wooden Spoon or Spatula: These tools help mix and fold the dough without overworking it.
Optional But Helpful Equipment
- Stand Mixer: If you have one, a stand mixer with a dough hook attachment makes kneading easy.
- Bench Scraper: A bench scraper helps shape and divide the dough, and clean your surface.
- Pastry Brush: Use a pastry brush to brush the rolls with egg wash or melted butter for a golden finish.
- Baking Thermometer: A digital thermometer ensures your rolls are perfectly baked by checking the internal temperature.
With these baking tools and kitchen equipment for bread rolls, you’re ready to make delicious no yeast bread rolls quickly.
Step-by-Step Mixing Instructions
Making no yeast bread rolls at home is simple. Just follow a few easy steps to create fluffy, tasty rolls. Let’s explore how to make these rolls and enjoy the homemade taste.
- Preheat your oven to 400°F (200°C). Lightly grease a baking sheet or use parchment paper.
- In a big mixing bowl, mix the flour, baking powder, salt, and any herbs or spices. Whisk until everything is well mixed.
- Add cold butter or shortening to the dry mix. Use a pastry cutter or your hands to mix until it looks like coarse crumbs.
- Slowly add the milk or buttermilk, mixing until the dough forms. Don’t overmix to avoid tough rolls.
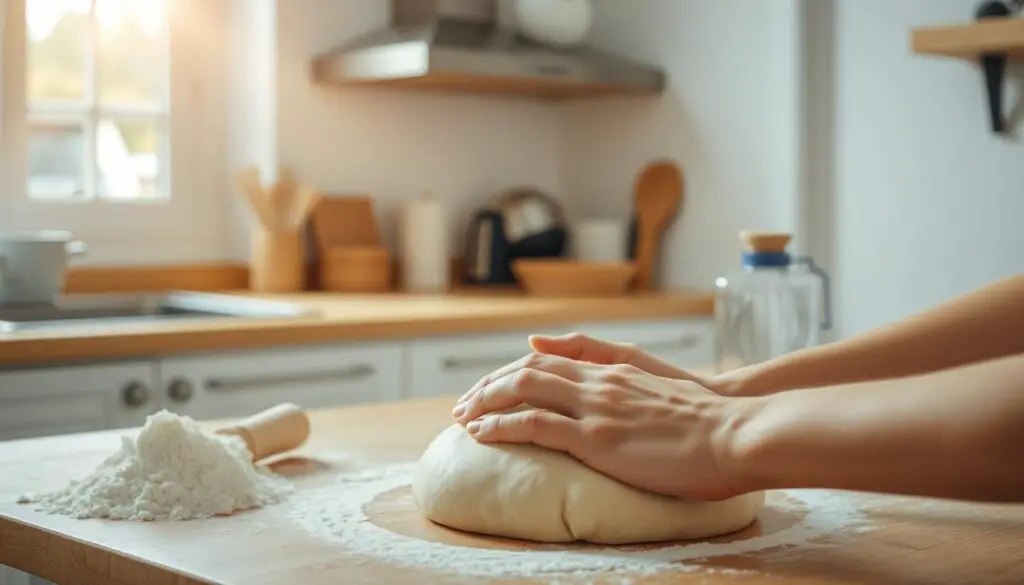
- Put the dough on a floured surface and gently knead a few times. Be careful not to overwork.
With these steps, you’re ready to bake delicious no yeast rolls. Next, we’ll show you how to shape them perfectly.
Tips for Perfect Dough Consistency
Getting the right dough consistency is key for tasty no-yeast rolls. It doesn’t matter if you’re new or experienced. Knowing about dough texture can greatly improve your baking. Here, we’ll share tips and solutions to get your dough just right.
Common Dough Problems and Solutions
Dough issues can happen for many reasons. But, we’ve got solutions for you. Here are some common problems and how to fix them:
- Sticky or wet dough: If it’s too sticky, add a bit more flour slowly until it’s smooth but slightly tacky.
- Dry or crumbly dough: For dry dough, add a little milk or water until it forms a ball.
- Tough or dense dough: Avoid overworking the dough to prevent toughness. Mix and knead gently to keep it soft.
Texture Troubleshooting Guide
Getting the dough just right takes practice, but you’ll get it. Use this guide to fine-tune your dough texture:
| Desired Texture | Signs of Success | Troubleshooting Tips |
|---|---|---|
| Soft and supple | The dough holds its shape but is pliable and smooth to the touch. | Adjust liquid content as needed to achieve the desired consistency. |
| Light and airy | The dough rises well and has a delicate, fluffy structure after baking. | Avoid overworking the dough, which can develop too much gluten and make the rolls dense. |
| Slightly tacky | The dough sticks to your fingers ever so slightly but doesn’t leave a residue. | If the dough is too dry, add a small amount of liquid; if too wet, incorporate more flour. |
The secret to perfect bread dough consistency is to watch the texture and adjust as needed. With a bit of troubleshooting, you’ll soon be baking delicious no yeast bread rolls.
Shaping Your Self Rising Flour Rolls
Shaping self rising flour rolls is an art that can make your baking better. With a few simple steps, you can make rolls that look and taste great. Here’s how to shape your bread rolls for the best results.
Dividing the Dough
First, turn the self rising flour roll dough onto a floured surface. Use a sharp knife or dough scraper to divide it into equal parts. You want about 2-3 ounces of dough for each roll.
Shaping Techniques
- Rounded Rolls: Cup each dough portion in your hands and roll it into a circle. This makes the top smooth and tight.
- Knot Rolls: Roll each dough into a rope and tie a knot. Tuck the ends under to make a knotted shape.
- Crescent Rolls: Roll each dough into a long, thin rectangle. Roll it into a crescent shape from the long side. Place the rolls on the baking sheet with the pointed ends facing outward.
Make sure to leave enough space between the rolls on the baking sheet. This helps them rise and bake evenly.

Achieving Uniformity
To get consistent rolls, shape each one the same way. Use a kitchen scale to portion the dough. Roll or pat each piece into a uniform shape and size. This makes your rolls look professional and appealing.
With these techniques, you’re ready to make self rising flour rolls that are delicious and beautiful. Enjoy making your dough into perfectly shaped, Instagram-worthy bread rolls!
Baking Temperature and Timing Guide
Baking the perfect no yeast bread rolls is all about getting the oven temperature and baking time just right. The key is to strike a balance between a golden-brown crust and a soft, pillowy interior. Let’s explore the optimal baking conditions for your homemade bread rolls.
Signs of Properly Baked Rolls
When your no yeast bread rolls are done, you’ll notice a few telltale signs. The tops should be lightly golden brown, and the rolls should have a slightly crisp crust. This crust should yield to a soft, tender interior when you gently squeeze them. You can also use a toothpick or cake tester to check for doneness – it should come out clean when inserted into the center of a roll.
Adjusting for Different Oven Types
- Conventional Oven: Preheat your oven to 400°F (200°C) and bake the rolls for 18-22 minutes, or until golden brown.
- Convection Oven: Reduce the temperature to 375°F (190°C) and bake for 15-18 minutes, keeping a close eye to prevent over-browning.
- Toaster Oven: Set the temperature to 400°F (200°C) and bake for 12-15 minutes, checking frequently to ensure even cooking.
Remember, oven temperatures and baking times may vary depending on your specific appliance. So, it’s always a good idea to keep a close eye on your rolls and adjust the cooking time as needed.
“The secret to perfectly baked no yeast bread rolls is finding the sweet spot between a golden crust and a soft, fluffy interior.”
Serving and Storage Recommendations
Serving and storing your homemade no-yeast bread rolls is key. Proper handling and storage keep your rolls fresh and tasty. This is true even after they’ve cooled from the oven.
Serving Suggestions
Present your bread rolls warm for the best taste. Here are some ideas:
- Put the rolls in a basket or on a platter for guests to enjoy.
- Slice the rolls in half for mini sandwiches or sliders.
- Tear the rolls into pieces for soups or stews.
- Brush the rolls with melted butter or olive oil for extra flavor.
Proper Storage Techniques
To keep your bread rolls fresh longer, follow these tips:
- Let the rolls cool completely before storing.
- Put the rolls in a resealable bag or airtight container.
- Store them at room temperature for up to 3 days.
- Freeze for up to 2 months for longer storage. Thaw at room temperature before eating.
By using these tips, you can enjoy your homemade bread rolls for days. They’ll stay fresh and delicious.
| Serving Suggestion | Storage Method | Shelf Life |
|---|---|---|
| Warm and fresh | Resealable plastic bag or airtight container | Up to 3 days at room temperature |
| Sliced for sandwiches or torn into pieces | Freezer-safe bag or container | Up to 2 months in the freezer |

These simple tips help you enjoy your homemade bread rolls for days. Whether you’re serving fresh rolls or storing bread rolls for later, they’ll always be delicious.
Flavor Variations and Add-ins
Make your no-yeast bread rolls even better by trying different flavors. You can add sweet or savory ingredients, or use herbs and spices. This way, you can make your homemade rolls truly special.
Sweet and Savory Options
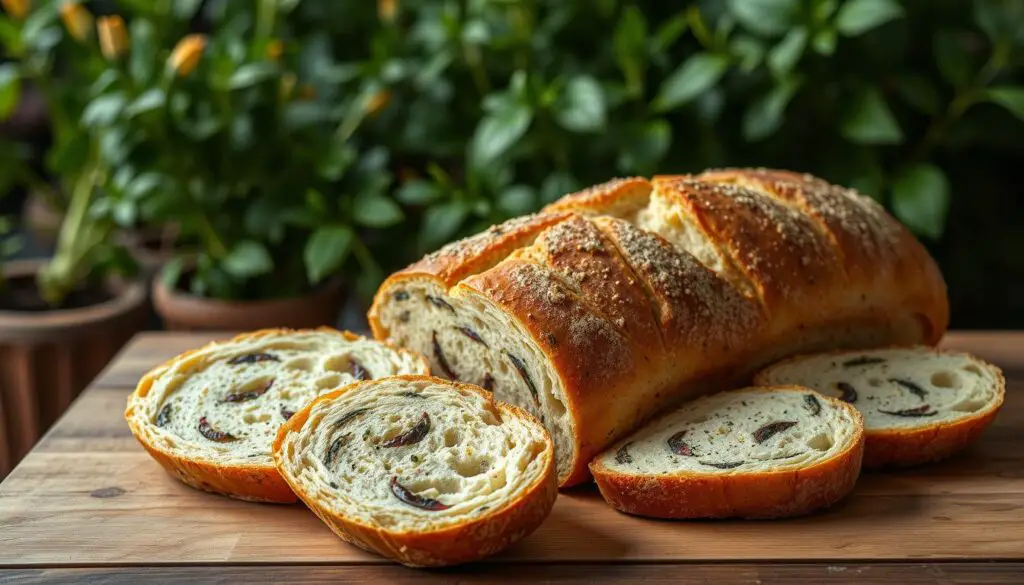
For a sweet twist, add shredded cheddar cheese, diced ham, or caramelized onions. Or, mix in dried cranberries, toasted pecans, or chocolate chips for a sweet treat. If you like savory, try adding crumbled feta, chopped kalamata olives, or sun-dried tomatoes.
Herb and Spice Combinations
Give your bread rolls a fresh taste with herbs and spices. Mix in chopped rosemary, thyme, or oregano. For extra flavor, add ground cumin, smoked paprika, or garlic powder. Feel free to try different seasonings to create unique bread roll flavors and herb and spice rolls.
FAQ
What makes these dinner rolls unique without using yeast?
These no yeast dinner rolls use self-rising flour, baking powder, and milk. They act as leavening agents, unlike traditional yeast. This makes it easy to make homemade bread rolls quickly, without long proofing times.
What are the key benefits of making yeast-free rolls?
Making no-yeast rolls is fast, easy, and simple. They can be ready in just 30 minutes. This is great for busy nights or when you need a quick meal. They also need fewer ingredients and are easier to make than yeast-based bread.
What essential ingredients do I need for no yeast bread rolls?
You’ll need self-rising flour, baking powder, salt, milk, and melted butter. The flour and baking powder help the dough rise. Milk and butter add moisture and richness.
What kitchen tools are required to make no yeast rolls?
You’ll need a large mixing bowl, measuring cups and spoons, and a spoon or spatula. A baking sheet or pan is also essential. Optional tools include a rolling pin and a sharp knife or pizza cutter.
How do I mix the dough for these no yeast rolls?
Start by mixing the self-rising flour, baking powder, and salt in a bowl. Then, add the milk and melted butter. Mix gently until a shaggy dough forms. Avoid overmixing to prevent tough rolls.
How do I ensure I have the right dough consistency for no yeast rolls?
The dough should be slightly sticky but easy to handle. If it’s too dry, add more milk. If too wet, add flour. Adjust the liquid-to-flour ratio to fix issues like dense or crumbly dough.
What’s the best way to shape the no yeast dinner rolls?
You can shape the rolls in several ways. Divide the dough into portions and roll them into balls. Or, roll out the dough and cut it into squares or triangles. Handle the dough gently to keep it light and fluffy.
What’s the optimal baking temperature and time for no yeast rolls?
Bake the rolls at 400°F (200°C) for 12-15 minutes. They should be golden brown on top. Watch them closely as oven temperatures vary. They’re done when they bounce back slightly when pressed.
How should I store and serve the fresh no yeast rolls?
Serve the rolls warm, straight from the oven. Store leftovers in an airtight container at room temperature for up to 3 days. To reheat, bake at 350°F (175°C) for 5-7 minutes.
What flavor variations can I try with no yeast bread rolls?
You can customize the basic recipe with sweet or savory add-ins. Try shredded cheese, chopped herbs, garlic powder, cinnamon sugar, or dried fruit. Experiment with different flavors to find your favorite.


2 Comments