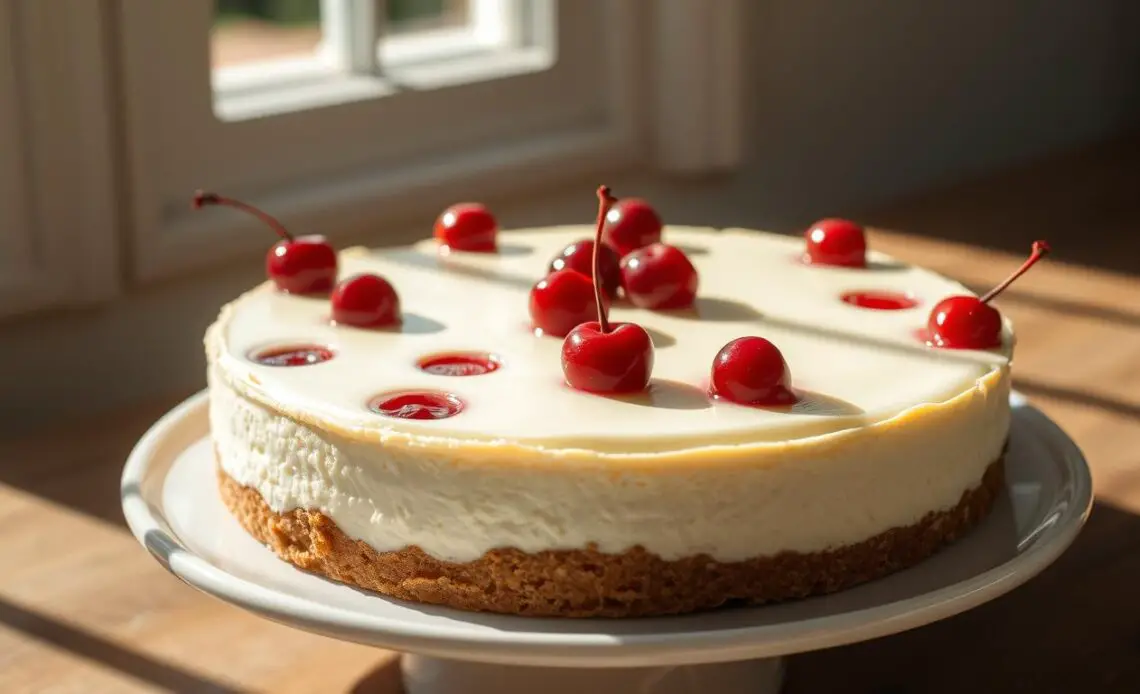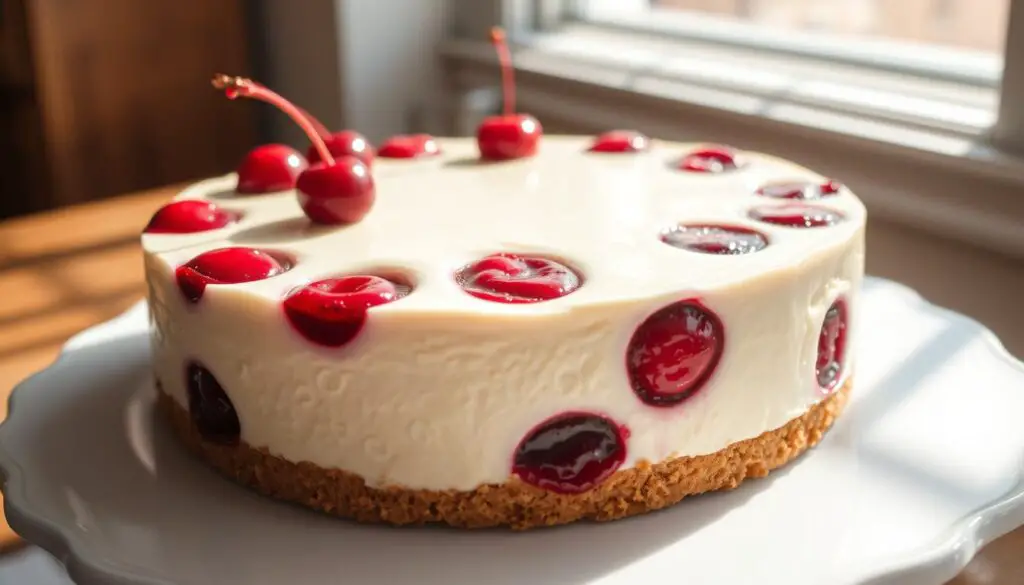
cherry cheese cake recipe ; As the sun sets, casting a warm glow over the kitchen, nothing beats a slice of homemade cherry cheesecake. The creamy filling and sweet, tangy cherry topping create a perfect mix of flavors. It’s a treat that’s sure to impress at any dinner party or satisfy your sweet tooth.

Key Takeaways
- Discover the timeless appeal of classic cherry cheesecake, a beloved dessert that’s perfect for any occasion.
- Learn how to make a homemade cheesecake with a creamy, smooth texture and a delightful cherry topping.
- Understand the key ingredients and techniques that make this recipe stand out, ensuring a perfect result every time.
- Explore variations and troubleshooting tips to elevate your cheesecake-making skills and achieve professional-level results.
- Uncover storage and serving suggestions to keep your cherry cheesecake fresh and enjoy it to the fullest.
The Perfect Cherry Cheesecake: A Timeless Dessert Classic
Cherry cheesecake is a beloved dessert that has won hearts for generations. It’s known for its creamy texture and sweet-tart taste. This timeless dessert is a favorite in both restaurants and homes across the United States.
History of Cherry Cheesecake
The cherry cheese cake recipe started in the early 20th century. It was when the classic New York-style cheesecake became popular. Bakers then started adding different fruits, and cherry became a favorite.
Cherries add a bright red color and a sweet yet tangy taste. They perfectly match the creamy cheesecake. This made it a classic dessert loved by many.
Why This Recipe Stands Out
This cherry cheese cake recipe is known for its perfect flavor mix. It has a smooth, creamy texture. The quality of cream cheese and cherries makes it a treat for the taste buds.
The recipe also focuses on details. From the graham cracker crust to the baking tips, it shows the art of baking. Each slice of cherry cheesecake is a masterpiece.
Essential Ingredients for Your Cherry Cheese Cake Recipe
Making a delicious cherry cheese cake starts with the right ingredients. It needs cream cheese, cherries, and a graham cracker crust. Let’s look at what makes this dessert so special.
Cream Cheese: The Creamy Foundation
Cream cheese is the heart of any cheesecake. It gives the dessert its creamy texture. Choose a high-quality, full-fat cream cheese without additives for the best taste.
Graham Crackers: The Crunchy Base
The graham cracker crust is a classic choice. It’s buttery and slightly sweet, balancing the tart cherries. Use fresh crumbs or whole crackers for the best texture.
Cherries: The Crowning Glory
Fresh, ripe cherries are essential for a cherry cheese cake. Choose Bing or Rainier cherries for their juicy, tart flavor. They make the dessert complete.
| Ingredient | Quantity | Purpose |
|---|---|---|
| Cream Cheese | 24 ounces | Provides the rich, creamy texture |
| Graham Crackers | 1 1/2 cups, crushed | Creates the buttery crust |
| Cherries | 2 cups, pitted and halved | Adds the signature tart flavor |
With these ingredients, you’re ready to make a cherry cheese cake that will wow everyone. Enjoy the creamy, crunchy, and fruity flavors!
Kitchen Tools and Equipment You’ll Need
Making the perfect cherry cheesecake needs a well-stocked kitchen. You’ll need essential baking tools and some optional equipment to make it special. Let’s look at the key tools to make this classic dessert.
Must-Have Baking Tools
- Springform pan: This special pan is a must for cheesecake. It has removable sides for easy removal and looks great.
- Electric mixer or stand mixer: A strong mixer is key for a smooth cheesecake. It mixes everything well.
- Mixing bowls: You’ll need several heat-safe bowls for the crust, filling, and toppings.
- Rubber spatula: This spatula is great for scraping the sides of the bowl. It makes sure all ingredients mix well.
- Measuring cups and spoons: Accurate measurements are crucial for great results. Keep a set of measuring tools ready.
Optional Equipment for Professional Results
While the basics above are enough to start, some extra cheesecake baking tools can make your homemade cherry cheesecake even better:
- Food processor: It’s perfect for a smooth graham cracker crust and mixing the filling.
- Offset spatula: This spatula helps spread the cheesecake and toppings smoothly.
- Parchment paper: Line the springform pan with parchment paper for a clean cheesecake release.
- Baking sheet: Place a baking sheet under the springform pan to catch any spills.
With the right kitchen equipment and practice, you can make professional-quality cherry cheesecakes at home.
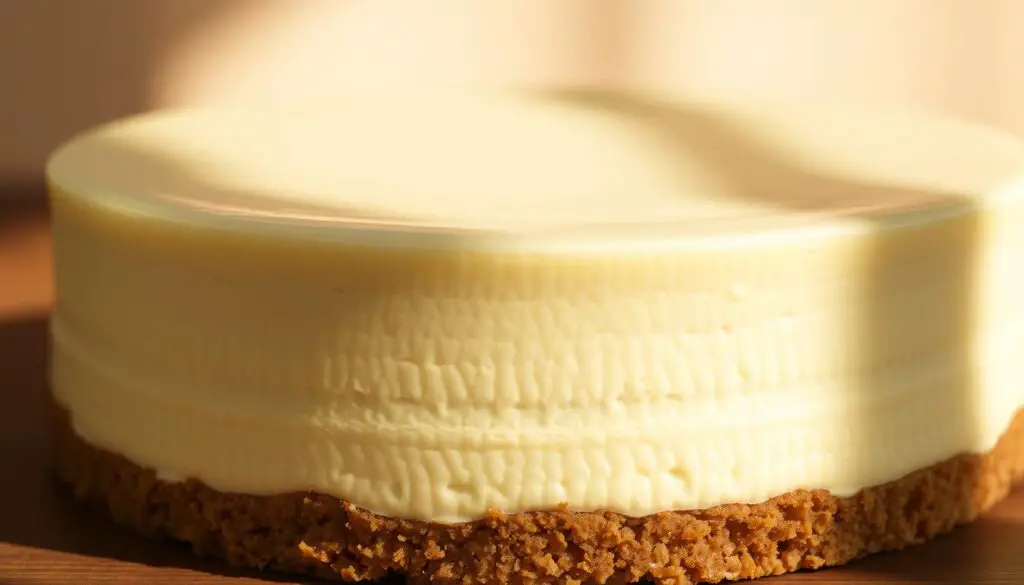
Preparing the Perfect Graham Cracker Crust
The graham cracker crust is key to making your cherry cheesecake stand out. It needs just a few ingredients and some effort. By following these steps, you’ll get a crust that’s both sturdy and full of flavor, perfect for the creamy cheesecake base.
- Begin by grinding graham crackers in a food processor until they’re fine and crumb-like. This makes the crust even.
- Melt butter in a saucepan or microwave. Then mix it with the graham cracker crumbs until it’s like wet sand.
- Press the mixture into the bottom and up the sides of a springform pan. Use a flat-bottomed glass or measuring cup for an even layer.
- Bake the crust at 350°F (175°C) for 8-10 minutes. Let it cool completely before adding the cheesecake base.
Getting the crust right is all about finding the right mix of buttery richness and graham cracker taste. By following these steps, you’ll make a crust that’s strong and complements the creamy cheesecake base. It will also highlight the bright, tangy flavors of the cherry topping.

“A well-made graham cracker crust is the unsung hero of a great cheesecake. It provides the perfect balance of texture and flavor to complement the richness of the filling.”
Making the Creamy Cheesecake Filling
Creating the perfect creamy cheesecake filling is key to a great cherry cheesecake. The right cream cheese and mixing methods are essential for a smooth texture.
Cream Cheese Selection Tips
Choosing the right cream cheese is vital for a creamy cheesecake filling. Go for high-quality, full-fat cream cheese that’s at room temperature. This ensures it blends well, giving you a smooth texture.
Stay away from low-fat or reduced-fat cream cheese. These can make your cheesecake grainy or dense.
Mixing Techniques for Smooth Texture
Mixing right is key for a smooth texture in your creamy cheesecake filling. Start by beating the cream cheese until it’s light and fluffy. Use a stand mixer or a hand mixer on medium speed.
Slowly add sugar, eggs, and vanilla, scraping down the bowl often. Mix just until everything is well combined. Avoid overmixing to prevent a dense or grainy texture.
| Cream Cheese Type | Recommended Usage |
|---|---|
| Full-fat cream cheese | Ideal for achieving a creamy cheesecake filling with a smooth texture |
| Low-fat or reduced-fat cream cheese | Can result in a grainy or dense final product, not recommended for the best creamy cheesecake filling |
“The secret to a perfect creamy cheesecake filling lies in the right balance of ingredients and mixing techniques. Take the time to get it just right, and you’ll be rewarded with a smooth texture that will delight your taste buds.”
Cherry Topping Preparation Methods
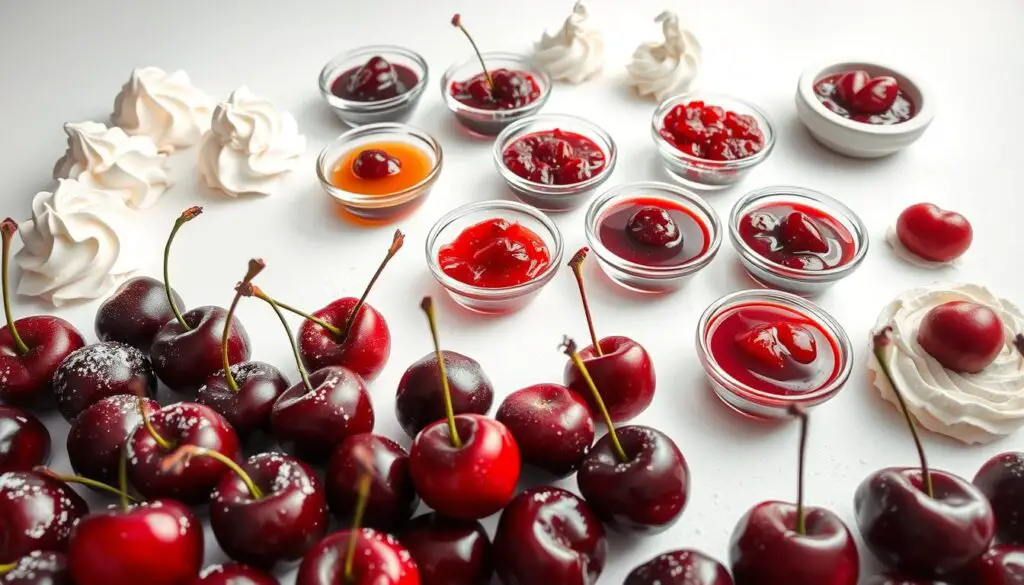
Adding a cherry topping to your cheesecake can make it even better. You can use fresh, canned, or homemade cherry sauce. Each option can elevate your dessert in its own way. Let’s look at how to make the perfect cherry topping for your cheesecake.
Fresh Cherry Topping
Using fresh, ripe cherries makes a vibrant and juicy topping. Rinse and pit the cherries, then mix them with a bit of sugar and lemon juice. The cherries’ natural sweetness and tartness will enhance the cheesecake’s creaminess.
Canned Cherry Topping
When fresh cherries are hard to find, canned cherries are a good choice. Choose high-quality cherry topping or cherry sauce for a tasty and consistent texture.
Homemade Cherry Sauce
Making your own cherry sauce adds a special touch to your cheesecake. You’ll need fresh or frozen cherries, sugar, and a bit of lemon juice or almond extract. Simmer until the cherries are soft and the sauce thickens. Let it cool before topping your cheesecake.
Whichever method you pick, the cherry topping is the highlight of your homemade cheesecake. Try different methods and flavors to find the best match for your creamy dessert.
Step-by-Step Baking Instructions
Baking the perfect baked cherry cheesecake recipe needs focus and a few key steps. Whether you’re an experienced baker or new to cheesecakes, these cheesecake baking tips will help you achieve a delicious result.
Temperature Guidelines
Keeping the oven at 325°F (165°C) is crucial. This steady heat ensures the cheesecake cooks evenly. It helps avoid cracks and uneven baking.
Timing and Doneness Indicators
The baking time for a baked cherry cheesecake recipe is 60 to 90 minutes, depending on the pan size. The cheesecake is ready when it’s almost set in the middle. A good tip is to turn off the oven and let it sit for an hour. This helps it cool slowly and prevents cracks.
To check if it’s done, insert a clean knife or toothpick into the center. If it comes out clean or with a few moist crumbs, it’s ready. Your cheesecake baking tips have worked, and it’s time to take it out of the oven.
| Baking Step | Temperature | Time |
|---|---|---|
| Baking | 325°F (165°C) | 60-90 minutes |
| Cooling in Oven | Oven Turned Off | 1 hour |
By using these cheesecake baking tips, you’ll make a stunning baked cherry cheese cake recipe. It’s sure to wow your family and friends.
No-Bake Cherry Cheesecake Variation
Do you love the creamy taste of a classic cherry cheesecake but hate baking? This no-bake cherry cheese cake recipe is perfect for you. It combines fresh cherries with a smooth, creamy filling made from condensed milk. It’s a refreshing treat for hot summer days without using the oven.
The secret to this no-bake version is using cherry cheesecake no bake condensed milk for the filling. This skips the baking step, saving you time and effort. It’s also great for those who like a lighter, chilled cheesecake.
Ingredients and Preparation
- 1 (14oz) can of sweetened condensed milk
- 1 (8oz) package of cream cheese, softened
- 1 cup of fresh or frozen cherries, pitted and chopped
- 1 pre-made graham cracker crust
To make this no bake cherry cheesecake, mix the softened cream cheese and sweetened condensed milk until smooth. Add the chopped cherries and pour into the graham cracker crust. Chill for at least 4 hours until firm. Serve chilled for a sweet and creamy treat.
| Ingredient | Amount |
|---|---|
| Sweetened Condensed Milk | 1 (14oz) can |
| Cream Cheese, Softened | 1 (8oz) package |
| Fresh or Frozen Cherries, Pitted and Chopped | 1 cup |
| Graham Cracker Crust | 1 pre-made |
This no-bake cherry cheesecake is a great way to satisfy your sweet tooth without baking. Enjoy the creamy, cherry-filled goodness anytime, anywhere!

Troubleshooting Common Cheesecake Issues
Making the perfect cheesecake can be tricky. But, with a few tips, you can fix common problems. This way, you’ll get that creamy, crack-free dessert you want.
Preventing Cracks and Sinking
Cracks and sinking are common cheesecake issues. But, there are ways to avoid them:
- Avoid overbeating the batter. Too much air can cause cracks.
- Use a water bath to bake your cheesecake. It helps prevent sudden temperature changes that lead to cracks.
- Run a knife around the pan’s edge before cooling. This prevents the cheesecake from sticking and sinking.
- Let the cheesecake cool slowly in the oven with the door ajar. Then, refrigerate it for at least 4 hours before serving.
Texture Problems and Solutions
Grainy or lumpy textures can be a problem. Here are some solutions:
- Overbeating: Too much air from overbeating can make the texture coarse. Mix gently for a smooth, creamy texture.
- Insufficient Blending: Not mixing enough can leave cream cheese lumps. Blend all ingredients until smooth.
- Overbaking: Baking too long can dry out the cheesecake, making it tough. Watch the baking time closely and use the recipe’s doneness indicators.
By fixing these common cheesecake troubleshooting issues, you’ll make perfect, silky-smooth cheesecakes every time.
Storage Tips and Serving Suggestions
To keep your homemade cherry cheesecake fresh, store it right. Once it’s cooled, cover it with plastic wrap or foil. Then, refrigerate it for up to 5 days. For longer storage, freeze it for 2 months. Wrap it in plastic or use an airtight container.
When serving, pair it with vanilla ice cream or warm chocolate sauce. The cheesecake’s creaminess goes well with sweet berries like raspberries or blueberries. Add a sprig of mint or powdered sugar for elegance.
This classic cherry cheesecake is perfect for any occasion. It offers a delicious mix of tangy cream cheese and sweet cherries. It’s sure to impress your guests and satisfy your sweet tooth.
FAQ
What is the key to making the perfect cherry cheesecake?
To make a great cherry cheesecake, use top-notch ingredients like full-fat cream cheese. Stick to the recipe and mix well. Pay close attention to baking to get a smooth, creamy texture and perfect flavor.
Can I use canned cherry pie filling instead of fresh cherries?
Yes, canned cherry pie filling works well as a topping. It’s easy to use and tastes sweet and tart, just like fresh cherries.
How do I prevent cracks in my baked cheesecake?
To avoid cracks, don’t overmix the batter. This keeps it smooth. Also, don’t open the oven door while baking. Let the cheesecake cool slowly in the oven to prevent cracking.
Can I make a no-bake version of cherry cheesecake?
Absolutely, you can make a no-bake cherry cheesecake. Chill the cream cheese filling in the fridge until it sets. It’s quick, easy, and has a lighter texture than baked cheesecakes.
How long will a cherry cheesecake last in the refrigerator?
A cherry cheesecake stays fresh for 3-5 days in the fridge. Keep it covered to prevent drying out. You can also freeze it for up to 2-3 months.


1 Comment