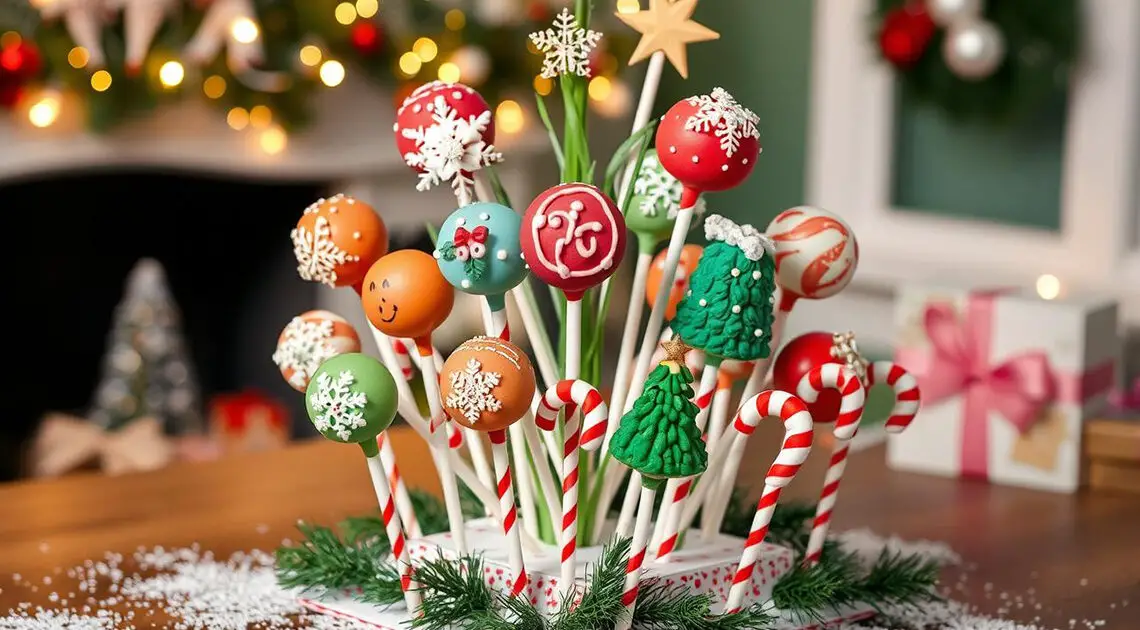
- Learn how to create a stunning Festive Cake Pop Xmas Tree that will be the centerpiece of your holiday celebrations. This guide covers everything from preparing a moist and flavorful cake base, shaping uniform cake pops, and mastering the perfect glossy coating to assembling a professional-looking tree with creative decorations. Whether you’re a beginner or a seasoned baker, this step-by-step tutorial will help you craft a magical dessert that delights both the eyes and the taste buds. Impress your family and friends this holiday season with a homemade cake pop Xmas tree that’s as delicious as it is beautiful!
As winter arrives and the holiday season nears, there’s nothing better than a homemade cake pop Xmas tree. This sweet treat has won the hearts of many, becoming a holiday favorite. Imagine the joy on your guests’ faces when they see a stunning tree made of colorful, bite-sized treats.
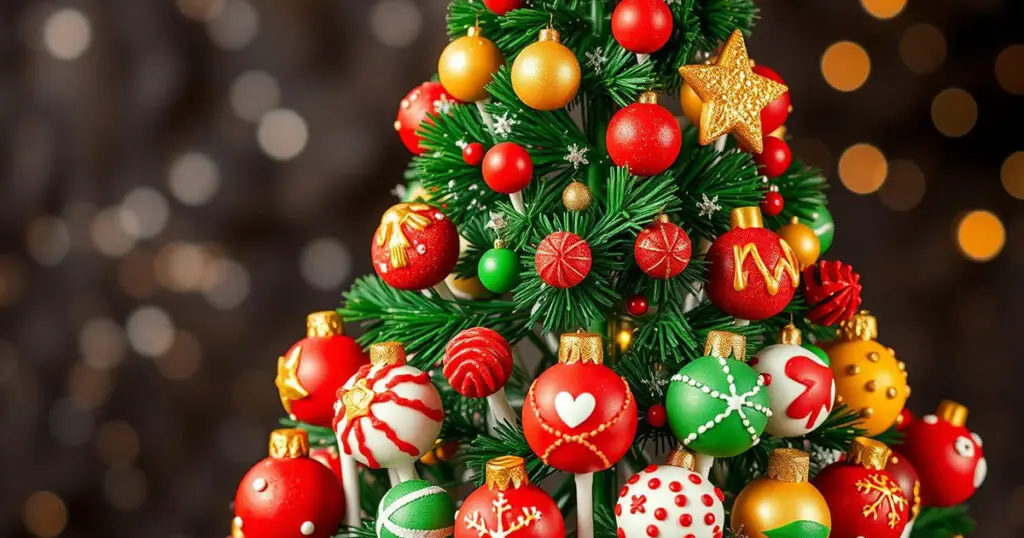
In this guide, you’ll learn how to make your own festive cake pop Xmas tree. We’ll cover the tools and ingredients you need, along with step-by-step instructions. With our help, you’ll create a dessert that will impress everyone. So, let’s start making this magical holiday treat!
Key Takeaways
- Discover the essential tools and ingredients needed to create a professional-looking cake pop Xmas tree
- Learn how to prepare the perfect cake base and shape the cake pops for a graduated tree effect
- Master the coating and dipping techniques to achieve a flawless, glossy finish
- Explore a variety of color schemes and decorative options to personalize your Xmas tree
- Uncover step-by-step instructions for assembling your cake pop Xmas tree stand
Essential Tools and Ingredients for Your Holiday Cake Pop Creation
Making the perfect xmas tree cake pops needs careful tool and ingredient selection. You’ll need special equipment and basic baking supplies. The right tools ensure your cake pops look professional and festive.
Specialty Equipment for Professional Results
For perfectly shaped cake pops, get a few key tools. A cake pop mold makes all pops the same size. Lollipop sticks give your pops a strong base. A styrofoam cone is vital for stacking your cake pops in a neat tree shape.
Must-Have Baking Ingredients
- Baked cake (your preferred flavor)
- Cream cheese or buttercream frosting
- Candy melts in various Christmas colors
- Sprinkles, nonpareils, and edible glitter
Decorative Elements and Supplies
Make your xmas tree cake pops pop with festive decorations. Use colored candy melts to cover your pops. Then, get creative with sprinkles, nonpareils, and edible glitter. For an extra wow, add miniature ornaments or edible decorations to the tree.
| Essential Tools | Baking Ingredients | Decorative Supplies |
|---|---|---|
| Cake pop mold | Baked cake | Colored candy melts |
| Lollipop sticks | Cream cheese or buttercream frosting | Sprinkles |
| Styrofoam cone | Candy melts in Christmas colors | Nonpareils |
| Edible glitter | ||
| Miniature ornaments | ||
| Edible decorations |
Preparing the Perfect Cake Base for Your Pops
Making easy christmas cake pops starts with a great cake base. The right cake base is key for perfect consistency and flavor. Choose from vanilla sponge or chocolate for your holiday treats.
When baking, aim for a moist cake that crumbles well. Try gingerbread, red velvet, or peppermint for a festive touch. After cooling, break the cake into fine crumbs for a smooth filling.
Next, mix the cake crumbs with the right frosting or binding agent. This step is vital for the pops’ structure and taste. Try cream cheese, buttercream, or ganache to find the best match for your flavor.
“The secret to making the perfect cake pop base is finding the right balance of moist cake and creamy frosting. It’s all about that perfect texture that holds its shape without being too dense or dry.”
With a great cake base, you’re ready to make your festive cake pop Christmas tree. The foundation you create will help you make consistent, delightful pops for the holiday season.
How to Make the Ideal Cake Pop Xmas Tree Shape
Making perfect xmas tree cake pops is all about shaping and putting them together. You need to make sure each pop is the same size and has the classic tree shape. These steps are key to making a beautiful holiday treat.
Forming Consistent Pop Sizes
To get uniform xmas tree cake pops, it’s important to keep their sizes the same. Use a measuring tool or template to make sure each pop is the same size. Roll each pop to the same diameter for a polished look.
Creating the Graduated Tree Effect
The unique shape of a xmas tree comes from its graduated layers. Start with the biggest pop at the bottom and make each one smaller as you go up. This way, your tree will taper to a perfect point at the top.
Tips for Structural Stability
For a stable xmas tree cake pop display, think about how they’re built. Make sure each pop is securely attached to the one below it. Use frosting or a small dowel rod to hold them together. This keeps your pops standing tall and your display looking great.
Mastering the Coating and Dipping Techniques
Making the perfect easy christmas cake pops means getting good at coating and dipping. This step is key for a smooth finish. It makes your treats look great and keeps the cake inside safe.
First, pick the right coating. Chocolate or candy melts in holiday colors work well. They give a shiny look. When you melt it, keep an eye on the temperature. It should be warm but not too runny.
- Dip each cake pop into the melted coating, gently rotating it to ensure an even coverage.
- Tap off any excess coating, allowing the pop to drip back into the bowl for a clean, professional look.
- Place the coated pops on a parchment-lined baking sheet or cooling rack to set.
For extra fun, add edible glitter or crushed candy canes. These sparkly touches make your easy christmas cake pops pop. They also look great with the shiny coating.
“The secret to perfect easy christmas cake pops lies in the coating. With a little practice, you’ll be dipping and decorating like a pro in no time!”
Getting good at coating and dipping takes patience and focus. Follow these steps to make a beautiful easy christmas cake pops display. Your guests will love it.
Color Schemes and Decorative Options for Your Holiday Tree
Creating your festive christmas cake pops or xmas cake pops is exciting. You can choose from many color schemes and decorations. From classic Christmas colors to modern designs, the choices are endless. Let’s find the perfect colors and decorations to make your tree stand out.
Traditional Christmas Colors
The classic colors of Christmas are red, green, and white. Coat your cake pops in bright red, then add white chocolate drizzle and green sprinkles. Or, use one green color and add edible gold glitter for a sparkly look.
Modern and Trendy Design Ideas
For a modern twist, try bold colors and patterns. Use deep blue, fuchsia, and metallic bronze. Try ombre effects for a stunning gradient. Add geometric designs, polka dots, or hand-painted motifs for a unique touch.
Edible Glitter and Sprinkle Applications
Festive toppings like edible glitter and sprinkles are essential. Glitter in gold, silver, or bright colors adds sparkle. Mix it with sprinkles in various shapes to capture the holiday spirit. Your cake pop tree will be the star of the party.
Assembling Your Cake Pop Xmas Tree Stand
Building a strong and attractive stand for your xmas tree cake pops is key. It makes your holiday dessert pop. With the right tools and methods, you can make a base that holds your cake pop xmas tree and looks great.
To start, gather a few important items:
- A sturdy base, like a thick piece of wood or a round cake board
- Decorative items like ribbon, greenery, or ornaments
- A hot glue gun or strong adhesive
- Scissors or a craft knife for cutting
First, attach the base to the spot where you’ll display your xmas tree cake pops. This could be a table, countertop, or serving tray. Choose a thicker, more durable base if your tree is big and heavy.
Then, get creative with decorating the stand. Wrap it in ribbon, add greenery like pine branches or holly leaves, or use small ornaments. The aim is to make a stand that looks good and fits with your cake pop xmas tree.
“The stand should be an extension of the overall design, seamlessly blending with the theme and colors of your xmas tree cake pops.”
Make sure the stand can hold the weight of your cake pop xmas tree. Use a lot of hot glue or other adhesive to stick the base down. You might also need to add extra support.
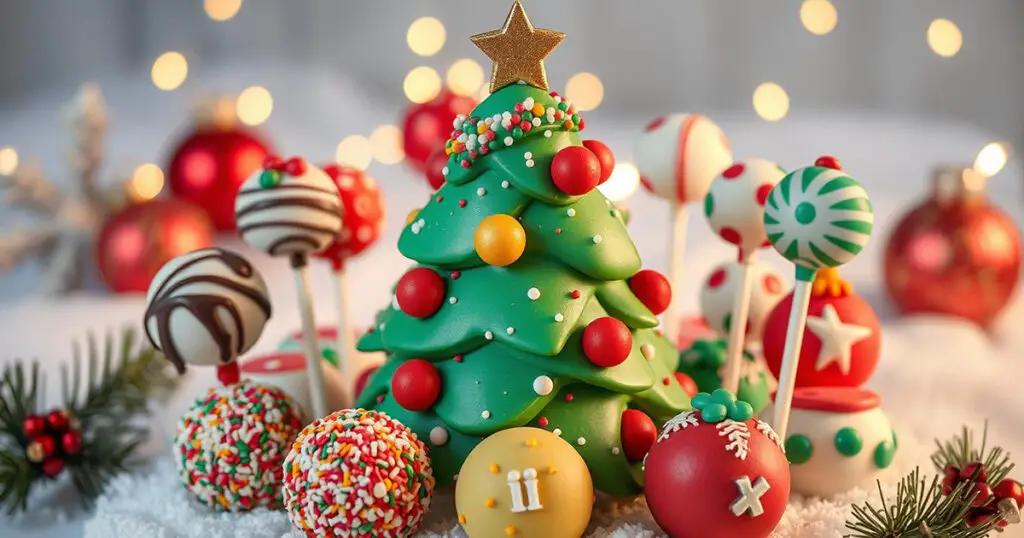
Now that you have a sturdy and pretty stand, you’re all set to start making your xmas tree cake pops. It’s time to bring your holiday dessert to life.
Step-by-Step Tree Construction Guide
Making a stunning cake pop Xmas tree needs careful detail. Let’s go through each step to make your festive treat a hit. This guide is for both experienced bakers and newcomers to christmas ideas for cake pops. It covers all the important parts of building your tree.
Base Layer Assembly
Begin by placing your cake pops on a strong base, like a styrofoam form or a wooden board. Put the biggest cake pops at the bottom for a solid base. Make sure they’re close together for stability and a neat look.
Securing Each Layer
As you go up, use smaller cake pops for a tree shape. Use melted chocolate or frosting to stick each layer together. This is key to keeping your christmas ideas for cake pops tree standing strong.
Adding the Finishing Touches
After building your tree, add the final details. You can use sprinkles, edible glitter, or a special tree topper. These touches will make your christmas ideas for cake pops tree shine and be a holiday highlight.
Success in making a cake pop Xmas tree comes from focusing on each step. With patience, creativity, and holiday cheer, you’ll create a beautiful centerpiece. It will surely wow your friends and family.
Storage and Transportation Tips
Keeping your xmas cake pops looking great is key when you’re ready to show them off or move them. A few smart storage and transport tricks can help keep your holiday treats looking perfect. This way, your xmas cake pops will stay in top shape for all the festive fun.
Proper Storage for Optimal Freshness
To keep your xmas cake pops fresh, store them in a sealed container at room temperature. Don’t put them in the fridge or freezer. The changing temperatures can make the coating crack or the cake dry and crumbly.
Safeguarding During Transit
When moving your xmas cake pop tree, make sure each layer is secure. Place the pops in a strong box or container, using bubble wrap or packing to keep them from moving. Keep the box upright and don’t put heavy things on top to avoid messing up the cake pops.
Temperature Considerations
- Keep the transport area cool and steady to stop the coating from getting soft or the cake from melting.
- In hot weather, use an insulated bag or cooler to keep the xmas cake pops at the right temperature.
- Don’t let the xmas cake pops get direct sunlight or heat, as it can ruin their look and feel.
By using these storage and transport tips, your xmas cake pops will stay fresh and look amazing. They’ll be ready to impress your guests and add to the holiday joy.
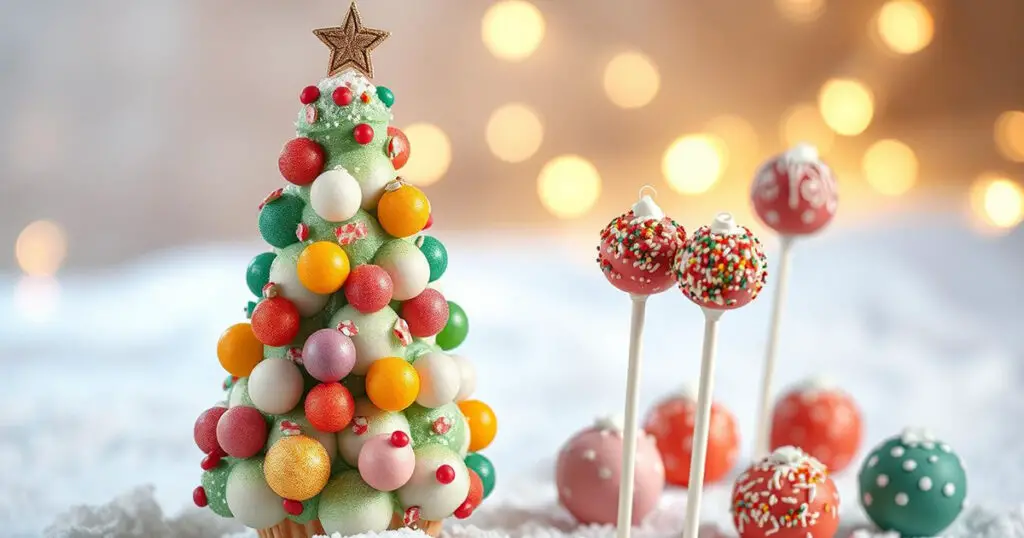
Troubleshooting Common Issues
Making perfect easy christmas cake pops for your Xmas tree can be fun but tricky. Don’t worry, we’ve got solutions for common problems you might face.
Preventing Cracks and Falls
Keeping your cake pops intact is key for a beautiful holiday display. Here are a few tips to help:
- Make sure your cake base is moist and dense. This helps your pops stay strong.
- Handle the dough gently when forming pops. Avoid overworking to prevent cracks.
- Chill the pops well before coating. This helps them keep their shape.
- Use dowel rods or lollipop sticks for extra support, which is great for the top of your tree.
Quick Fixes for Last-Minute Problems
Even the best plans can go wrong sometimes. But, you can still save your Xmas tree with these quick fixes:
- For cracked or misshapen pops, smooth them with melted candy coating and decorate again.
- If a pop falls off, reattach it with melted coating or a toothpick.
- Use edible glue or melted chocolate to keep pops in place on the tree.
- Hide any flaws with extra sprinkles or edible glitter.
With a bit of creativity and these tips, your Xmas tree will be the star of the holiday season!
Conclusion
Making a stunning cake pop Xmas tree needs focus, patience, and creativity. You’ve learned how to pick the best tools and ingredients. You also know how to shape and coat them perfectly.
This project is more than just making a tree. It’s about enjoying the journey, trying new things, and feeling proud of what you create. The skills you’ve learned can help you make many different cake pop designs. This lets you show off your cooking skills and get into the holiday spirit.
Your cake pop Xmas tree can show off your unique style, whether you stick to classic colors or try something new. Enjoy making it, have fun, and let your tree be a symbol of holiday joy and togetherness.
FAQ
What are the essential tools and ingredients needed to create a cake pop Xmas tree?
Decorative elements like sprinkles, edible glitter, and a tree topper will complete your tree.



1 Comment