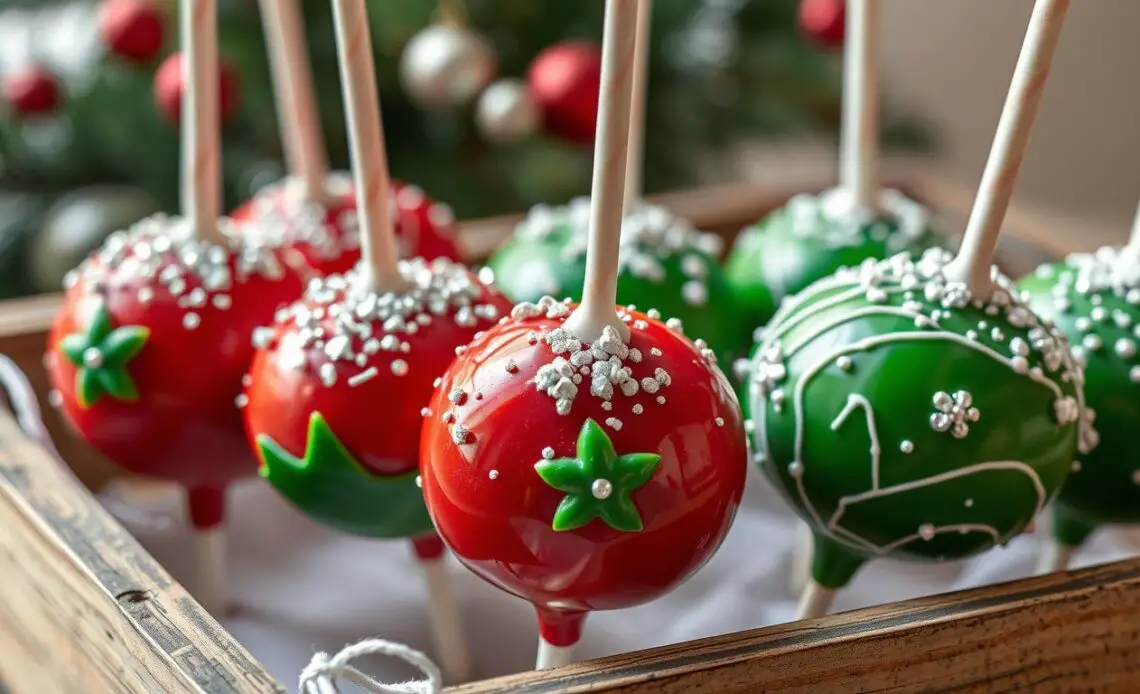
- Get into the holiday spirit by making your own festive Christmas cake pops at home. These delightful treats combine the softness of cake with creative holiday decorations, making them perfect for holiday gatherings or as gifts. Whether you choose classic flavors like chocolate or gingerbread, or go for something new like peppermint, these cake pops are sure to impress. The process involves baking, crumbling the cake, mixing with frosting, and dipping the pops in colorful candy melts. Add sprinkles, edible glitter, or mini candies for a festive touch. With step-by-step instructions and plenty of decorating ideas, you can make these cake pops the star of your holiday season.
Table of Contents
As the holidays get closer, the smell of baking fills the air. Everyone is excited for festive gatherings. This year, why not make your own Christmas cake pops? They mix the softness of cake with fun decorations, making them perfect for the holiday season.
Imagine the joy when your loved ones see your homemade Christmas cake pops. Each one is a special treat, with colors and sparkles that capture the holiday spirit. They’re not just tasty; they’re a piece of holiday magic.
Key Takeaways
- Discover the joy of creating festive Christmas cake pops at home
- Learn essential tools and ingredients for perfect results
- Explore step-by-step guides for making the perfect cake base and decorating
- Uncover creative design ideas to make your cake pops stand out
- Get tips on storage, preservation, and packaging for gift-giving
Essential Tools and Ingredients for Christmas Cake Pops
Making festive Christmas cake pops at home needs the right tools and ingredients. Whether you’re experienced or new, having the right equipment makes the process fun and easy. Let’s look at what you need to make your own special xmas cake pops.
Basic Baking Equipment You’ll Need
You’ll start with basic baking tools like a mixing bowl, a hand mixer or stand mixer, a baking sheet, and a cooling rack. These items help you mix, bake, and cool your cake pops easily. You might also want a cake pop maker or silicone mold to shape your xmas cake pops.
Special Decorating Tools for Festive Designs
After baking and cooling, it’s time to decorate your cake pops. You’ll need piping bags, tips, and food coloring for detailed designs. Sprinkles, edible glitter, and other toppings can add holiday cheer to your xmas cake pops.
Quality Ingredients for Perfect Results
For cake pop xmas tree treats that look great and taste amazing, use top-notch ingredients. Choose fresh cake batter mixes, creamy frosting or filling, and premium chocolate or candy coating. Quality ingredients ensure your holiday treats are perfect in taste and texture.
With the right tools and ingredients, you’re ready to make incredible xmas cake pops. They’ll impress your family and friends this holiday season.
Understanding Christmas Cake Pops Basics
Explore the world of xmas tree cake pops and Christmas cake pops with this guide. Learning the basics is key to making festive treats that everyone will love during the holidays.
The cake is at the heart of a great cake pop. Its texture and consistency are vital for shaping and coating. By mastering cake preparation, you’ll get the right mix of moisture and crumb. This will help your xmas tree cake pops and Christmas cake pops stay in shape and look good.
The coating process is also crucial. The chocolate or candy coating’s temperature and thickness are key for a shiny finish. Knowing how to control the temperature and solve common problems will help you make beautiful holiday treats.
“The secret to making irresistible xmas tree cake pops and Christmas cake pops is in the balance of flavors, textures, and attention to detail.”
As you learn about xmas tree cake pops and Christmas cake pops, you’ll find joy in making edible art. With the right skills and creativity, your Christmas cake pops will be the highlight of the holiday season.
Step-by-Step Guide to Making the Perfect Cake Base
Making the perfect cake base is key for easy Christmas cake pops and xmas cake pops. This guide will teach you how to pick the best flavors, mix and crumble the cake, and get the right consistency. This will help you shape and decorate your festive treats perfectly.
Choosing the Right Cake Flavors
For xmas cake pops, the right flavors are essential. Think about classic holiday tastes like rich chocolate, spicy gingerbread, or merry red velvet. You can also try seasonal favorites like peppermint or eggnog for a festive touch.
Proper Mixing and Crumbling Techniques
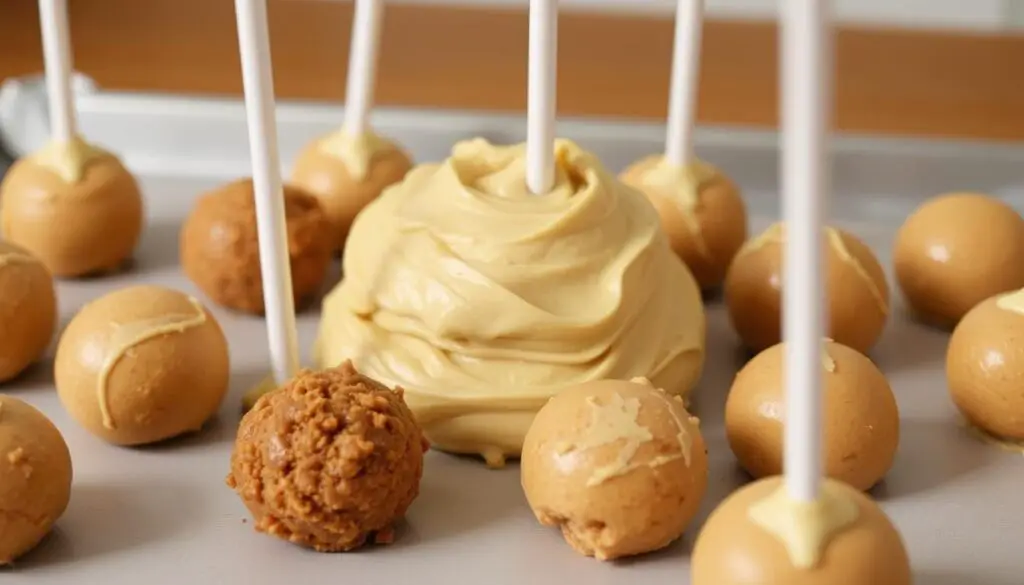
Getting the right texture for your easy Christmas cake pops is important. Mix the cake batter well for a smooth consistency. After baking, crumble the cake into fine pieces without over-processing. This will give you a light, airy texture that shapes well into balls.
Achieving the Ideal Consistency
To finish, make sure the cake base has the right consistency. Add the right amount of frosting or binding agent to the crumbled cake. It should be moist but not too wet. Test it by making a small ball; it should hold its shape without crumbling or sticking too much.
Follow these tips to create the base for your xmas cake pops. Start making, be creative, and enjoy making these festive treats at home!
Creating Xmas Tree Cake Pops: A Detailed Tutorial
Ready to make your holiday desserts special? Learn how to make xmas tree cake pops in this easy guide. You’ll learn to create these tiny Christmas trees that will wow your guests and add fun to your holiday.
Creating the perfect cake pop xmas tree is all about the right shaping and decorating. Let’s get into the details:
- Begin by baking your favorite cake and crumbling it finely. Mix in some frosting to make it moldable.
- Shape the cake mix into small triangles, making the top pointy like a Christmas tree.
- Stick a lollipop stick or wooden skewer into the base of each tree for stability.
- Dip the cake pops in melted chocolate or candy coating. Let the extra chocolate drip off before they harden.
- After the coating hardens, get creative! Decorate your xmas tree cake pops with festive sprinkles, edible glitter, or mini candy canes.
With a bit of patience and attention to detail, you’ll make a batch of cake pop xmas tree treats. They’ll impress your guests and show off your baking skills. Get ready to amaze them with your creations!
Mastering the Art of Dipping and Coating
Making perfect Christmas cake pops is more than baking the cake. It’s about mastering dipping and coating to get that smooth finish. We’ll share tips on temperature control and solve common coating problems. This way, you can make cake pops that taste great and look amazing.
Temperature Control Tips
Getting the right temperature is key for dipping and coating. Here are some tips to help you:
- Use a double boiler or bain-marie to melt your coating, keeping it at a consistent temperature.
- Monitor the temperature closely, ensuring it remains between 90-95°F (32-35°C) for optimal viscosity.
- If the coating becomes too thick, add a small amount of vegetable oil or shortening to thin it out.
- Work quickly, dipping the cake pops one at a time to prevent the coating from cooling too much.
Troubleshooting Common Coating Issues
Even experienced bakers face coating challenges. Here are common problems and how to fix them:
| Issue | Cause | Solution |
|---|---|---|
| Thick, gloppy coating | Overheated or over-melted coating | Add a small amount of vegetable oil or shortening to thin out the consistency. |
| Cracked or cratered coating | Coating cooled too quickly | Reheat the coating to the proper temperature and dip the cake pops again. |
| Uneven or lumpy coating | Improperly mixed coating | Strain the coating through a fine-mesh sieve to remove any lumps or impurities. |
By mastering dipping and coating, you’ll make Christmas cake pops that are both tasty and beautiful. Follow these tips and solutions to improve your cake pop skills.
Christmas Cake Pops: Creative Design Ideas
Creating the perfect Christmas cake pops opens up a world of possibilities. You can make them into holiday characters, festive patterns, or whimsical winter scenes. Your cake pops can become edible art that will amaze everyone.
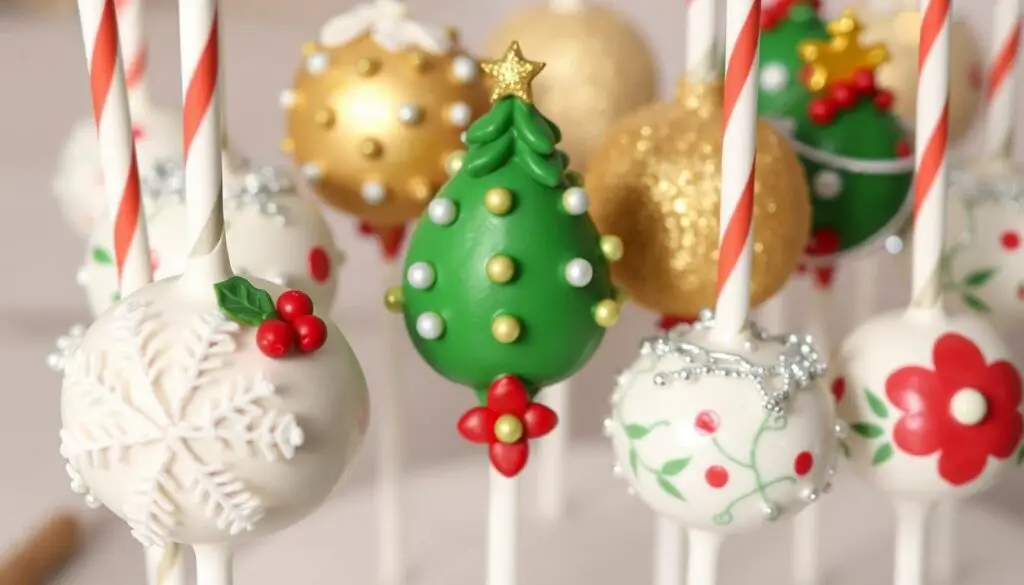
One fun idea is to make Christmas tree cake pops. Shape the cake into small triangles and cover them in green chocolate or candy melts. Add sprinkles, edible glitter, or royal icing details to look like mini holiday trees.
For a cute touch, try Santa Claus cake pops. Use a round cake pop and cover it in red candy melts or fondant for Santa’s suit. Add a white beard, rosy cheeks, and a happy face for a festive treat.
- Snowflake-inspired cake pops with intricate piped designs
- Gingerbread man cake pops with detailed facial features
- Candy cane-striped cake pops in classic red and white
- Snowman cake pops with charming button and scarf accents
To make your christmas ideas for cake pops and xmas cake pops stand out, let your creativity flow. Try different shapes, colors, and decorations. With a bit of effort, your festive cake pops will be the highlight of any holiday party.
Easy Christmas Cake Pops for Beginners
Making Christmas cake pops is easy and fun. You can create festive treats that impress everyone. This guide is perfect for beginners or those looking for a quick holiday project.
Simple Yet Festive Decorating Techniques
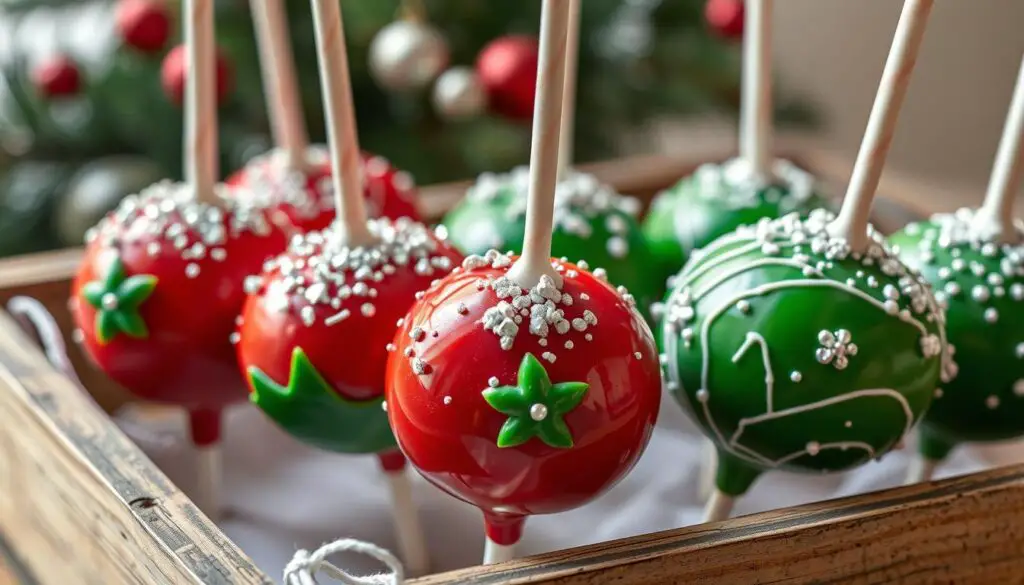
Decorating easy Christmas cake pops is simple. Start by dipping them in red or green coating. Then, add sprinkles, crushed candy canes, or edible glitter for a sparkly look. For more detail, use a piping bag to draw snowflakes or holiday patterns.
Time-Saving Tips and Tricks
- Make your cake mix ahead of time and keep it in the fridge or freezer. This saves you time on the day you assemble.
- Use a melon baller or small cookie scoop to portion your cake mix. This makes your cake pops the same size.
- Get a cake pop stand or styrofoam block. It helps you dip and dry multiple cake pops at once.
With these tips, you’ll make delicious Christmas cake pops for your holiday. They’re sure to make everyone happy.
| Decorating Technique | Supplies Needed | Time Required |
|---|---|---|
| Dipping in Colored Coatings | Candy melts, sprinkles, crushed candy canes | 10-15 minutes per batch |
| Piped Holiday Designs | Piping bags, royal icing, food coloring | 15-20 minutes per batch |
| Edible Glitter Accents | Edible glitter, cake pop sticks | 5-10 minutes per batch |
Storage and Preservation Tips for Your Cake Pops
Keeping your homemade Christmas cake pops fresh is key for enjoying them all holiday season. The right storage can keep them delicious for days or weeks. Let’s look at the best ways to store and preserve your festive treats.
Proper Storage Conditions
For your Christmas cake pops to stay good, store them in a cool, dry spot. Don’t let them get too hot or sunny, as this can mess up the coating and dry out the cake. An airtight container or resealable bag is perfect, keeping them fresh and preventing moisture damage.
Extending Shelf Life
Christmas cake pops can last about a week at room temperature if stored right. For longer, keep them in the fridge for up to two weeks. If you need to keep them even longer, freeze them. They can stay frozen for up to three months, just thaw them in the fridge before eating.
Packaging for Gift-Giving
When giving Christmas cake pops as gifts, make them look good and stay safe. Use clear containers or gift boxes to show off their festive look. Wrap each pop in cellophane or tissue paper to protect them while they’re on the move.
By using these storage tips, your homemade Christmas cake pops will stay fresh and tasty. They’ll be the perfect holiday gift for family and friends.
Packaging Ideas for Gift-Giving
Turn your tasty christmas ideas for cake pops and xmas cake pops into lovely gifts with creative packaging. Make your homemade treats stand out with special holiday packaging.
Festive Boxes and Containers: Show off your cake pops in holiday-themed boxes or containers. Choose classic red, green, or white with patterns, ribbons, or seasonal decorations. These elegant packages show you care about your baking.
Customized Wrappers and Tags: Add a personal touch with custom wrappers or tags. Design labels with the recipient’s name, a message, or a fun holiday design. These unique touches make your gifts special.
Stackable Trays and Platters: Present your xmas cake pops on stackable trays or tiered platters. It’s a great way to display your creations and gives a practical gift that’s easy to carry and show off.
Cellophane Bags and Boxes: For a neat and tidy look, use clear cellophane bags or boxes. Finish with a festive ribbon or a personalized tag for a nice touch.
Choose your packaging wisely, keeping food safety in mind. With creativity and care, your homemade treats will be the best holiday gifts.
Conclusion
Creating Christmas cake pops is a fun and rewarding activity. You’ve learned how to make the perfect cake base and decorate them. This skill can make your holiday celebrations even more special.
Whether you stick to classic flavors or try something new, your cake pops will be a hit. Have fun, be creative, and don’t be afraid to try new things. With practice, you’ll make Christmas cake pops that everyone will love.
Keep making Christmas cake pops and share your creations. Swap recipes and inspire others. The memories you make will make this holiday season unforgettable. Enjoy every step, taste the delicious flavors, and celebrate the holiday spirit with your Christmas cake pops.
FAQ
What are the essential tools and ingredients needed to make Christmas cake pops?
To make Christmas cake pops, you need basic baking tools like a cake pan and a hand mixer. You’ll also need a cake pop maker or styrofoam block. For decorating, use piping bags, food coloring, and sprinkles.
Quality ingredients are key. You’ll need moist cake, creamy frosting, and good chocolate or candy melts for the best results.
How do I prepare the cake base for my Christmas cake pops?
Begin by baking a cake in a Christmas flavor. Let it cool, then crumble it into fine crumbs. Mix in frosting until the mixture is just right for shaping.
Getting the texture right is important. It makes all the difference in your cake pops.
What is the best way to shape and decorate Christmas tree cake pops?
To make Christmas tree cake pops, shape the cake mixture into cones. Insert lollipop sticks into the centers. Then, dip them in colored candy melts or chocolate.
Decorate with sprinkles, edible glitter, or tiny candies. This adds ornaments and details to your mini Christmas trees.
How do I ensure a smooth, professional-looking coating on my Christmas cake pops?
For a smooth coating, control the temperature of your dipping chocolate or candy melts. Work fast to avoid problems. Use thinning or double-dipping for a perfect finish.
What are some easy Christmas cake pop design ideas for beginners?
Beginners can start with simple designs. Dip pops in red or green candy melts and add sprinkles or edible glitter. Try shapes like Christmas trees or Santa hats using basic techniques.
Using pre-made cake mix or frosting can save time. It makes the process easier and faster.
How should I store and preserve my Christmas cake pops?
Store your cake pops in an airtight container at room temperature. Avoid refrigeration to prevent the coating from getting soft. They stay fresh for up to a week.
When you’re ready to serve, lightly re-dip them in melted chocolate. This will restore their glossy look.
What are some creative packaging ideas for gifting Christmas cake pops?
Turn your cake pops into gifts by packaging them in festive boxes or bags. Use holiday-themed cellophane bags or decorative tins. Add a personal touch with a handwritten note.
Decorate with ribbon and gift tags. This makes your cake pops even more special.


