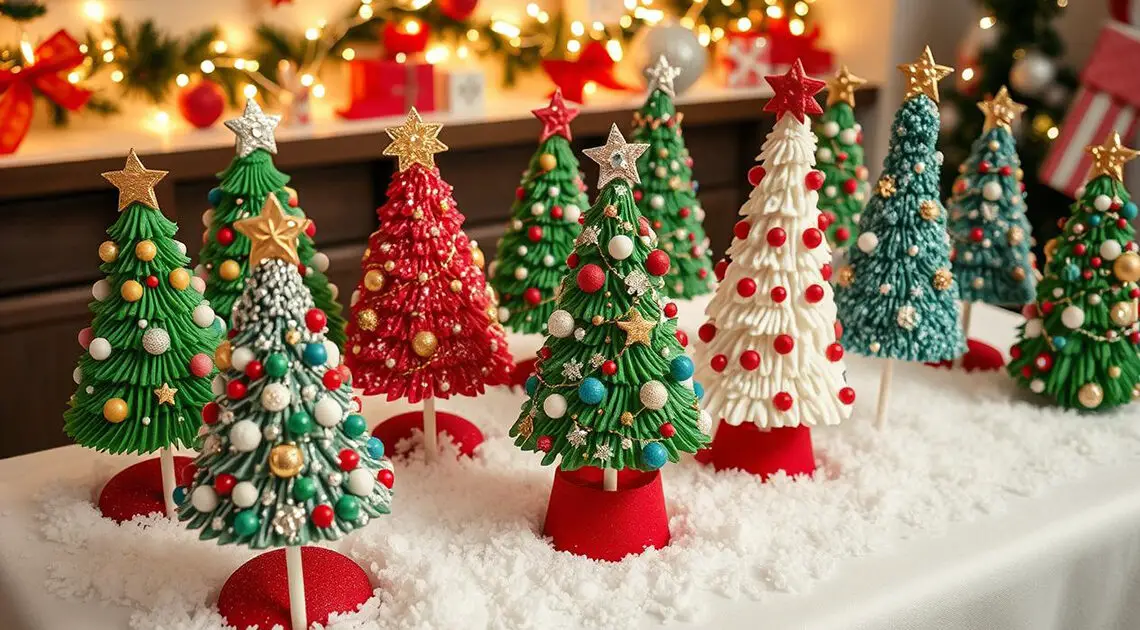
- The holiday season is the perfect time to create delicious and festive treats, and making Xmas tree cake pops at home is a fun way to spread holiday cheer. These cake pops are shaped like little Christmas trees, covered in colorful coatings, and decorated with festive touches like edible glitter, sprinkles, and mini ornaments. The recipe covers everything from preparing the cake base to shaping, coating, and decorating the pops. It also includes tips for storing, displaying, and packaging the cake pops for gift-giving. With a little patience and creativity, you can create these magical holiday treats that will impress your friends and family.
As the holiday season gets closer, the urge to enjoy festive treats grows stronger. This year, why not make your own xmas tree cake pops? These treats are not only delicious but also add magic to any holiday event.
Imagine biting into a moist cake pop and finding a tiny Christmas tree inside. It’s a magical moment that will make everyone happy. Making christmas cake pops is a great way to make your holiday celebrations even more special.
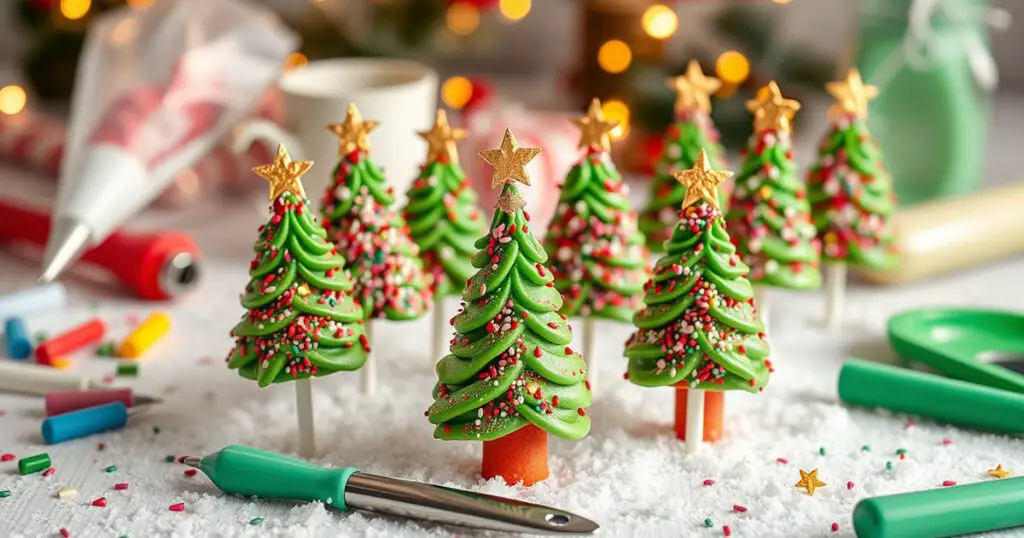
Key Takeaways
- Learn the essential ingredients and tools needed to create festive xmas tree cake pops at home
- Discover the basics of cake pop making, from mixing the perfect cake base to shaping and forming the pops
- Explore creative decorating ideas to transform your cake pops into whimsical holiday masterpieces
- Uncover storage and display tips to ensure your cake pops stay fresh and visually appealing
- Discover make-ahead and freezing guidelines to save time and maximize your holiday baking efforts
Essential Ingredients and Tools for Christmas Cake Pops
Making christmas cake pops at home needs a few key things. You’ll need the right cake and decorations to make them festive. Here’s what you need to impress your family and friends.
Baking Equipment You’ll Need
- Cake pop maker or mold
- Mixing bowls
- Electric hand mixer or stand mixer
- Baking sheet or parchment paper
- Cooling rack
- Lollipop sticks or cake pop sticks
Core Ingredients List
- Cake mix (your preferred flavor)
- Eggs, oil, and water (as per the cake mix instructions)
- Cream cheese or buttercream frosting
- Candy melts or chocolate chips (for coating)
- Sprinkles, edible glitter, and other decorative toppings
Decorative Supplies
To make your cake pops festive, you’ll need various decorations. Here are some essentials:
- Green and red candy melts or chocolate (for the tree shape)
- Edible glitter, sprinkles, or sanding sugar
- Piping bags and small round tips (for detailed decorations)
- Toothpicks or skewers (for applying decorations)
- Mini ornaments or other edible holiday-themed decorations
With the right tools, ingredients, and decorations, you’ll make stunning cake pops. They’ll surely delight your loved ones.
Understanding the Basics of Cake Pop Making
Making the perfect cake pop xmas tree or christmas cake pops starts with knowing the basics. It’s about getting the cake-to-frosting mix just right. You also need to master shaping and chilling to get the look you want.
Finding the right mix of crumbled cake and frosting is key. This mix should make your cake pops firm but not too hard. Try different ratios to find the perfect balance that’s soft and delicious.
Shaping the cake mixture into round balls is also crucial. This step is important for getting the cake pop’s classic look. Take your time and be careful, as the right shape is essential for a beautiful Christmas tree design.
- Invest in a cake pop or truffle maker to ensure uniform size and shape.
- Chill the cake pops thoroughly before coating to prevent crumbling and maintain their form.
- Refrigerate the coated pops until the coating is set for a smooth, professional finish.
By learning these basic steps, you’ll be able to make stunning cake pop xmas tree and christmas cake pops. They’ll impress your family and friends.
“Patience and attention to detail are the secrets to perfect cake pops.”
Preparing Your Cake Base for Xmas Tree Cake Pops
Making the perfect xmas cake pops begins with a great cake base. You need to focus on the cake flavor, mixing, and texture. Let’s explore how to prepare your cake base for festive xmas tree cake pops.
Choosing the Right Cake Flavor
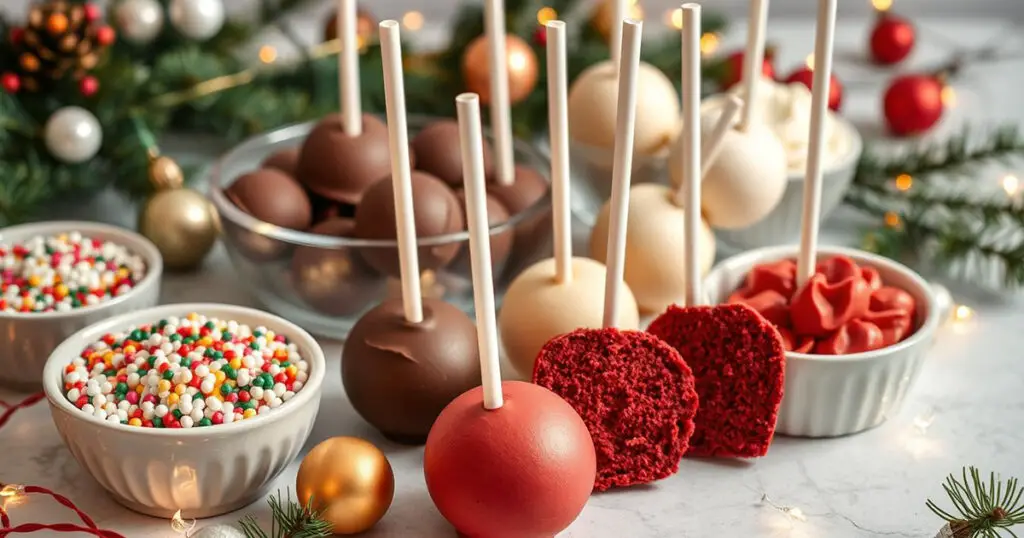
The cake flavor you pick is crucial for taste and look. Think about holiday flavors like spicy gingerbread, rich chocolate, or tangy lemon. Vanilla and red velvet are also great for a classic xmas tree cake pop.
Mixing and Crumbling Techniques
- Bake your cake as the recipe says, aiming for a moist, tender crumb.
- After cooling, crumble the cake into fine pieces with your hands.
- Don’t over-mix to avoid a dense, dry texture.
Achieving the Perfect Consistency
The cake base should be smooth and fudgy. If it’s too dry, add a bit of milk or cream. If it’s too wet, add more cake crumbs until it’s just right.
“The secret to perfectly shaped xmas tree cake pops lies in the preparation of the cake base. Get it right, and the rest will fall into place.”
Shaping and Forming Your Christmas Tree Pops
Making the perfect Christmas tree cake pops starts with shaping the cake mixture. This step is key to getting a consistent and appealing look. Let’s explore the techniques for shaping your festive treats.
To get the iconic cone shape, mix the cake and frosting until it’s smooth and pliable. Start by mixing the cake and frosting until it’s just right. Then, take small parts and roll them into balls.
- Gently flatten the top of each sphere to create a flat surface.
- Using your fingers, gradually pinch and shape the ball into a tapered cone, with the top being narrower than the base.
- Smooth the surface of the cone-shaped cake pop xmas tree with your fingertips, ensuring a seamless, uniform appearance.
- Place the shaped christmas ideas for cake pops on a parchment-lined baking sheet, allowing them to firm up in the refrigerator before coating.
Using a standard-sized cookie scoop or melon baller helps keep the cake pops the same size. This makes them look neat and uniform, perfect for display.
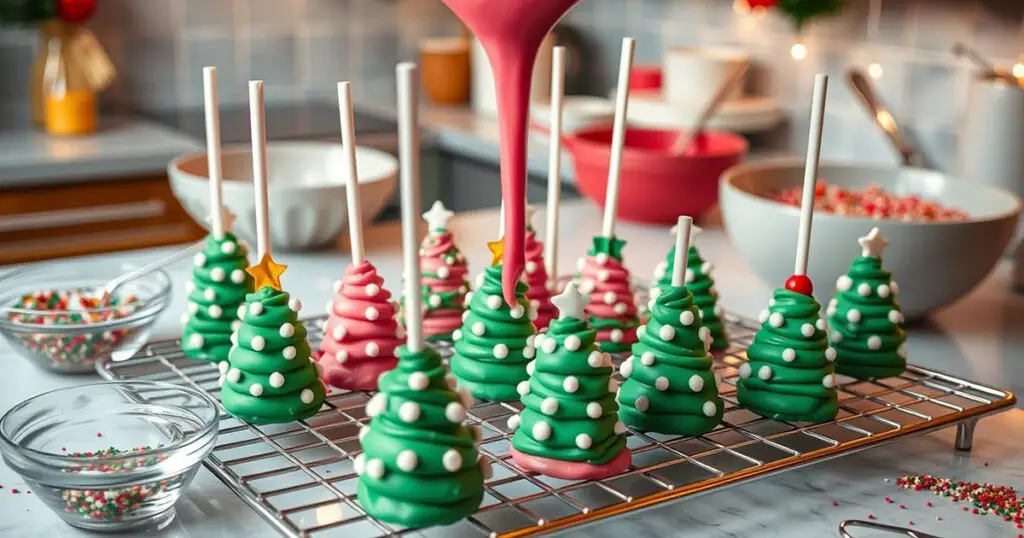
By following these steps, you’ll make christmas ideas for cake pops that are ready for decorating. Be gentle when handling them to keep their shape and surface perfect for your holiday masterpiece.
Mastering the Coating Process
Getting a perfect coat on your xmas tree cake pops is key. It makes them look stunning and professional. Learning about temperature, dipping, and fixing common problems can really help.
Temperature Control Tips
It’s important to control the temperature when dipping your cake pops. The best range is 90-100°F (32-38°C). If it’s too cool, the coating gets thick and lumpy.
If it’s too hot, it gets too thin and runs. This can make the pops lose their shape.
Dipping Methods
- Submerge the cake pop: Gently lower the cake pop into the melted coating, ensuring it is completely covered.
- Use a spoon: Scoop the coating over the cake pop, rotating it to evenly coat the entire surface.
- Dip and twist: Dip the cake pop into the coating, then slowly pull it out while gently twisting it to remove excess.
Troubleshooting Common Coating Issues
- Cracks or streaks: This could be due to the coating being too thick or the cake pop being dipped too quickly. Adjust the temperature or try a slower dipping motion.
- Pooling or dripping: If the coating is too thin, try adding a small amount of vegetable shortening or coconut oil to thicken it up.
- Dull or matte finish: Ensure the coating is at the proper temperature and consider using a food-grade luster dust or disco dust to add a shimmery, glossy effect.
Mastering the coating process will give your xmas tree cake pops a flawless look. They’ll impress everyone this holiday season.
Creative Decorating Ideas for Holiday Cake Pops
Making festive christmas ideas for cake pops and xmas cake pops is a fun way to celebrate the holiday season. Let your creativity shine by trying out new decorating methods. This will make your cake pops truly special.
Begin with a simple look by dipping your cake pops in chocolate and adding a bit of edible glitter. This adds a beautiful shine to your xmas cake pops.
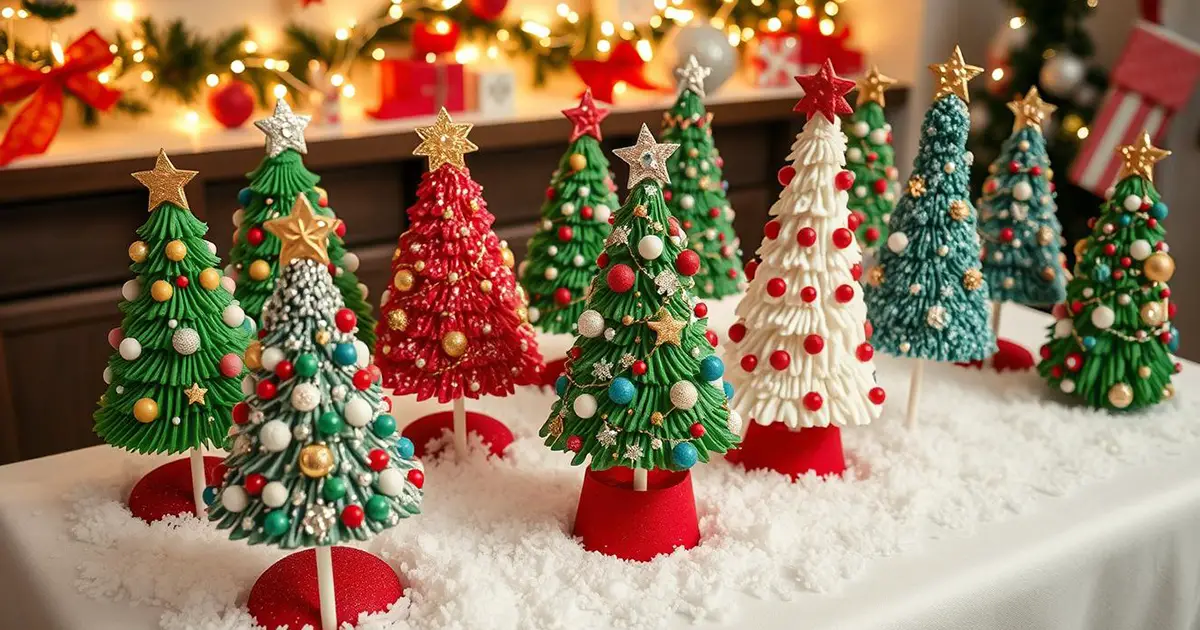
For something more detailed, think about Christmas ornaments. Use different candy melts to make cool patterns on your christmas ideas for cake pops. Add some gold or silver dust for an extra sparkle.
- Add festive sprinkles, nonpareils, or crushed candy canes for a fun, textured look.
- Use royal icing or melted chocolate to draw designs like snowflakes, Christmas trees, or reindeer.
- Put mini meringue or fondant shapes on top of your cake pops to look like holiday decorations.
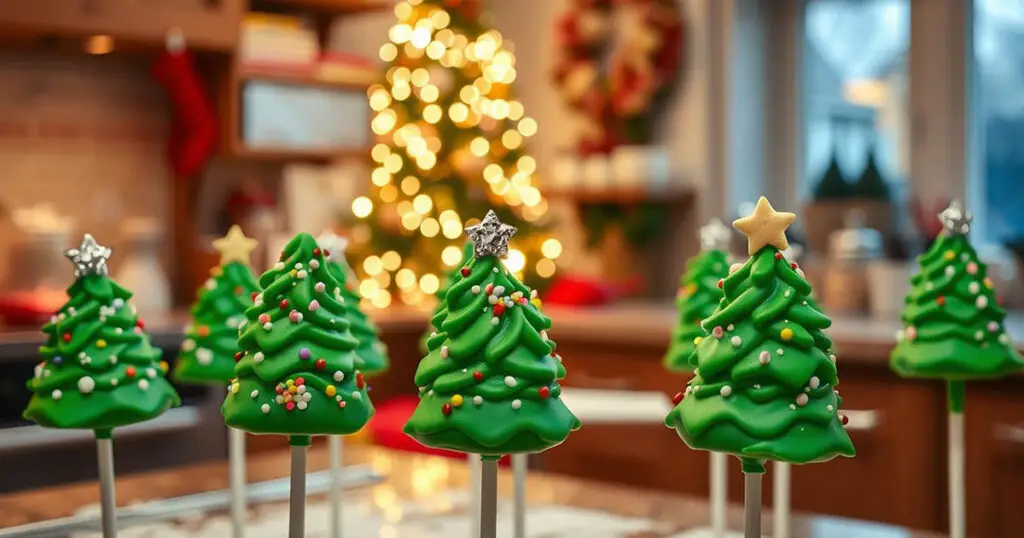
There are so many ways to decorate your xmas cake pops. Let your imagination run wild and try out different techniques and materials. This will help you make unique and festive treats.
Adding Festive Details and Sparkle
Make your xmas tree cake pops shine with festive touches. Add edible glitter and tiny ornaments to turn them into holiday wonders. These details will make your cake pops stand out as true holiday treats.
Edible Glitter Application
For a magical sparkle, dust your cake pops with edible glitter. Press it gently to spread it evenly. Pick glitters in holiday colors like gold, silver, or red to match your design.
Sprinkle Techniques
- Try different sprinkle patterns and shapes to make your cake pop tree interesting.
- Use various sprinkle sizes, from small to large, for a textured look.
- Press the sprinkles lightly to make sure they stick well.
Creating Mini Ornaments
Turn your cake pops into mini Christmas ornaments. Use fondant, gum paste, or modeling chocolate to make small ornaments and bows. Attach them to your cake pop trees with melted chocolate or candy coating.
With these creative additions, your easy christmas cake pops will be the highlight of any holiday party. They’ll fill the room with joy and holiday spirit.
Storage and Display Tips for Your Cake Pops
Making delicious christmas cake pops and xmas tree cake pops is just the start. To keep them fresh and looking great, you need to know how to store and display them.
Storing Your Cake Pops
Keeping your xmas tree cake pops fresh and tasty is crucial. Here are some tips to help:
- Put your christmas cake pops in an airtight container in the fridge for up to 5 days.
- Don’t stack the cake pops on top of each other to avoid them getting crushed or losing shape.
- When moving your cake pops, use a cake pop carrier or a sturdy container with paper towels to keep them safe.
Displaying Your Cake Pops
Now that your christmas cake pops are ready, it’s time to show them off. Here are some creative ways to display them:
- Make a cake pop stand or tower to highlight your xmas tree cake pops and make them the holiday table’s centerpiece.
- Put your christmas cake pops on a tiered serving tray or platter, adding decorations like greenery, ribbons, or mini ornaments.
- Include your cake pops in a holiday-themed dessert table, with other sweet treats and holiday decor.
| Storage Tip | Display Idea |
|---|---|
| Store in airtight container in the fridge for up to 5 days | Create a cake pop stand or tower |
| Avoid stacking to prevent crushing | Arrange on a tiered serving tray or platter |
| Use a cake pop carrier for transport | Incorporate into a holiday-themed dessert table |
By following these tips, your christmas cake pops and xmas tree cake pops will stay fresh and look amazing. They’ll delight your guests and loved ones all holiday season.
Make-Ahead and Freezing Guidelines
The holiday season is here, and the to-do list is long. Making easy christmas cake pops or xmas cake pops shouldn’t stress you. Plan ahead and freeze smartly to get a jump on your baking. This way, your xmas tree cake pops will be fresh for serving.
One great thing about easy christmas cake pops is the cake base can be made early. Bake, crumble, and mix with binding ingredients. Shape into trees and freeze on a baking sheet for an hour. Then, store them in airtight containers or bags for up to 3 months.
When decorating your xmas cake pops, thaw them at room temperature for 30 minutes. This makes dipping easier. Work fast to avoid them getting too soft. Store any leftovers in the fridge for up to 1 week.
Using these make-ahead and freezing tips can save you time and stress. Your easy christmas cake pops and xmas cake pops will impress everyone. And you’ll have more time to enjoy the holiday fun.
Packaging Ideas for Gift-Giving
As you make your Christmas cake pops and Xmas tree creations, think about how to present them. A good presentation can make your gifts stand out. With some creativity, you can make your gifts look amazing and feel special to your loved ones.
Presentation Options
There are many ways to show off your cake pops. You could use a tiered cake stand or a wooden board for a beautiful display. Or, you could place them in a small Christmas tree or a festive basket.
Holiday Wrapping Suggestions
Wrapping your cake pops can make the gift-giving even more special. Use kraft paper or holiday wrapping paper and add ribbons, bows, and tags. You can also add a personal note or a custom label. Clear bags or boxes can let the colors and designs of your cake pops shine.
Choosing the right packaging is key to showing off your cake pops’ beauty. With a bit of creativity, your homemade treats can become unforgettable holiday gifts.
Conclusion
Making festive xmas tree cake pops at home is a fun way to celebrate the holidays. You’ve learned how to bake the cake, coat it, and decorate it. This opens up a world of creative possibilities.
The real fun of making christmas cake pops is in the journey, not just the end result. Enjoy the hands-on process, try new flavors and designs. And don’t forget to share them with your loved ones. Homemade treats are the best way to spread joy and make memories.
So, get ready to put on your apron and start making xmas tree cake pops. Enjoy the journey, love the outcome, and let the holiday magic shine in every bite.




1 Comment